The Best Way to Patch Up Small Holes in Walls for a Professional Finish
Share
Flawless Wall Fixes: How to Patch Small Holes Like a Pro
We've all been there. You move a picture frame or shuffle around some furniture, and suddenly, there's an unsightly hole in your wall staring back at you. Whether it's from an old nail, a rogue doorknob, or a curious toddler, small wall holes are a common nuisance. The good news? Fixing them is quicker and easier than you might think. With the right approach, you can achieve a smooth, professional finish that will make your walls look brand new.
Gather Your Supplies
Before diving in, make sure you have everything you need. A quick trip to your local hardware store should do the trick. Here’s what to grab:
- Filler – The magic ingredient for filling holes.
- Putty knife – For smoothing and spreading the filler.
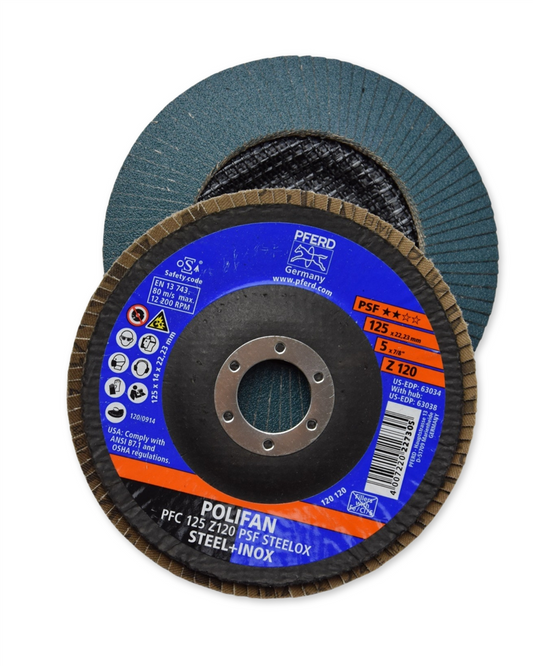
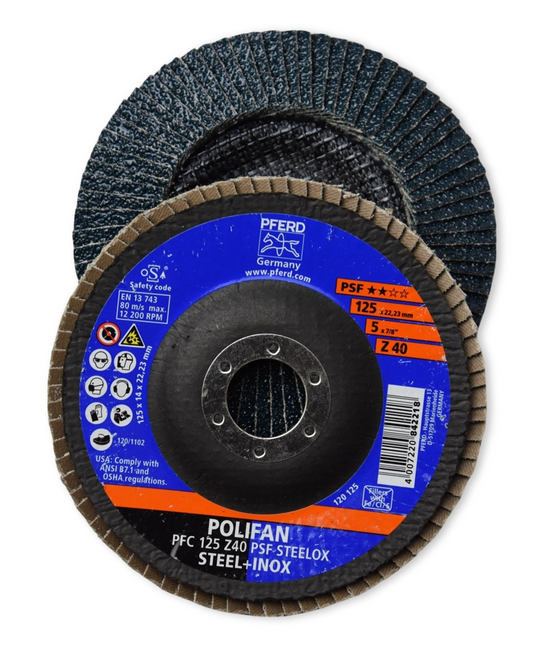
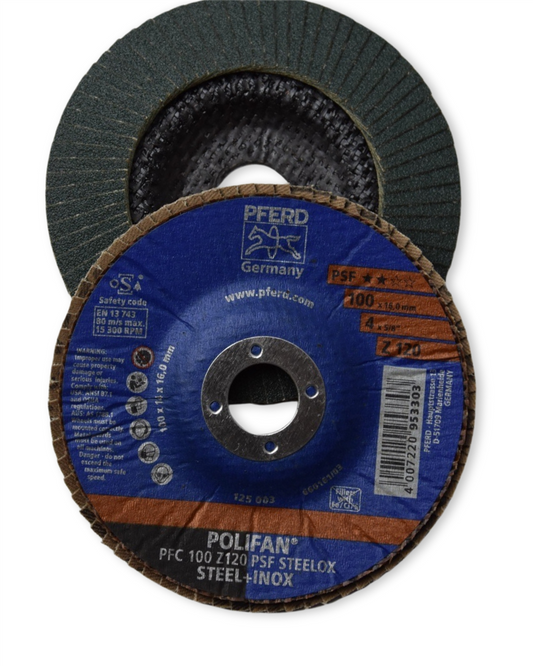
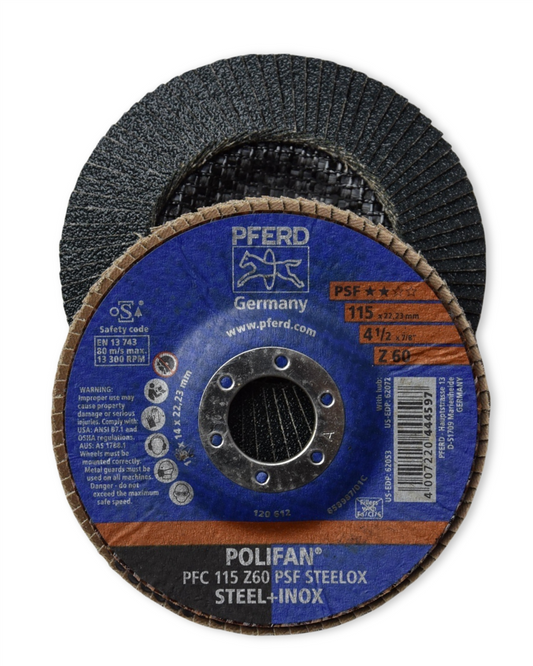
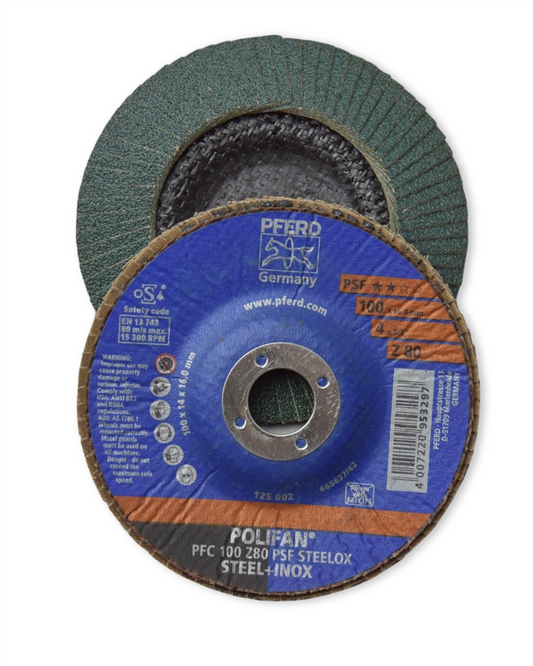
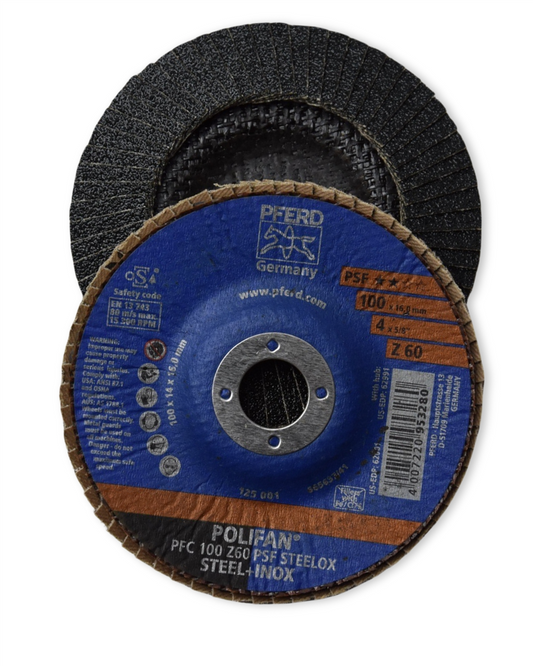
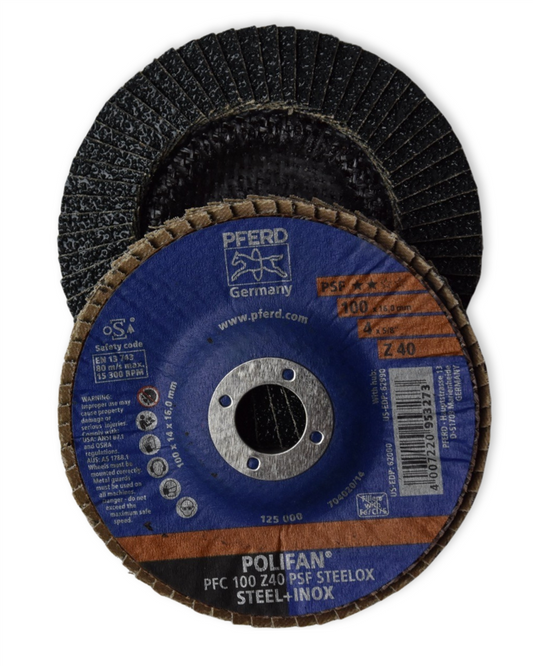
- Fine-grit sandpaper – Essential for blending the patch seamlessly.
- Primer – Helps the paint adhere evenly.
- Matching paint – The final touch to make the repair truly invisible.
- Damp cloth – Useful for wiping away dust and excess filler.
Step-by-Step Guide to a Perfect Patch
1. Clean the Area
Dirt and dust can interfere with adhesion, so start by wiping around the hole with a damp cloth. If the edges of the hole are rough or raised, gently sand them down for a smoother surface.
2. Apply the Filler Paste
Using your putty knife, scoop a small amount of filler and press it into the hole. Smooth over the area, making sure it sits flush with the wall. If the hole is deep, apply in layers, letting each one dry before adding more.
3. Let It Dry
Patience is key here. Drying times vary depending on the type of filler used, but most take around 30 minutes to a few hours. Check the instructions on your filler container just to be sure.
4. Sand for a Seamless Finish
Once the filler is completely dry, gently sand the area with fine-grit sandpaper. This smooths out any ridges and helps the patch blend in with the wall.
5. Prime the Spot
Applying a coat of primer prevents the patched area from absorbing too much paint, which can create an uneven finish. If you're touching up a white wall, a single coat should be enough.
6. Paint Over the Repair
Once the primer is dry, grab your matching paint and carefully apply it over the patched area. Feather the edges to blend the paint seamlessly into the surrounding wall. If needed, apply a second coat for full coverage.
Tips for a Professional Finish
- Use lightweight filler for quick-drying and easy sanding.
- Avoid overfilling—extra filler means more sanding.
- Test paint in an inconspicuous area to ensure a perfect colour match.
- If working on multiple spots, tackle them all at once to save time.
When to Call in the Experts
For standard nail or screw holes, a DIY fix is all you need. But if you're dealing with cracks, large dents, or serious plaster damage, a professional might be worth considering. And if you're ever unsure, feel free to visit Strathalbyn H Hardware for expert advice and the best materials for the job.
Final Thoughts
Patching small holes in a wall doesn’t have to be daunting. With a few simple tools and a little bit of patience, you can tackle minor repairs like a pro. So go on, give it a go! Your walls will thank you.
Cheers,
Candeece

Stay Connected
Follow our Facebook Page: Strathalbyn H Hardware on Facebook

