How to Fill Nail Holes in a Rental Wall Before You Move Out
Share
Wave Goodbye to Those Nail Holes: A Quick Fix Guide for Renters
Well, it's that time again—the pile of cardboard boxes is growing, your furniture's slowly disappearing, and your keys are almost ready to be handed back. There’s just one tiny issue standing between you and a perfect final inspection: those pesky little nail holes in the wall.
Don’t panic. Whether you’ve been hanging artwork, floating shelves, or that charming holiday wreath your aunt gave you, patching up your walls is easier than you might think. This guide will have you filling those holes like a pro—no builder’s licence required!
Why It Matters
If you’ve ever been on the receiving end of a property manager’s eagle-eyed once-over, you’ll know those tiny gaps left by nails can cost you a chunk of your bond. Filling them neatly not only keeps your wallet intact—it also shows you’ve taken pride in treating your place with care. A small effort now saves a lot of drama later. Worth it, right?
Let’s Talk Tools and Materials
Here’s what you’ll need:
- Wall putty or gap filler – something lightweight and paintable
- Putty knife or scraper – if your kids borrowed it for crafts last week, pop into Strathalbyn H Hardware to grab another
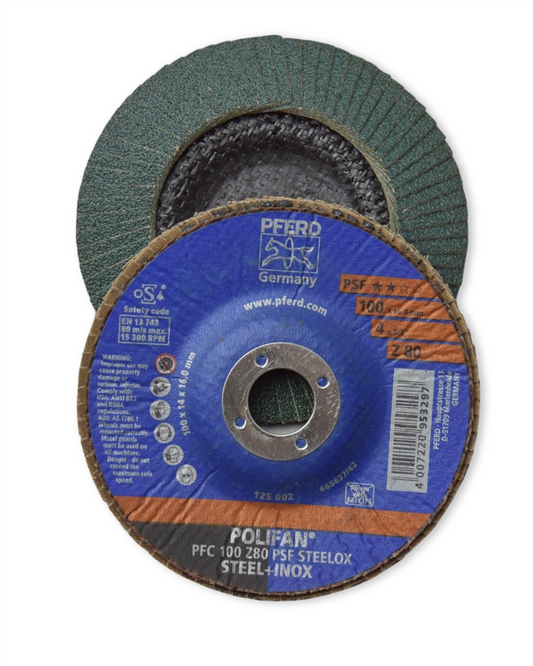
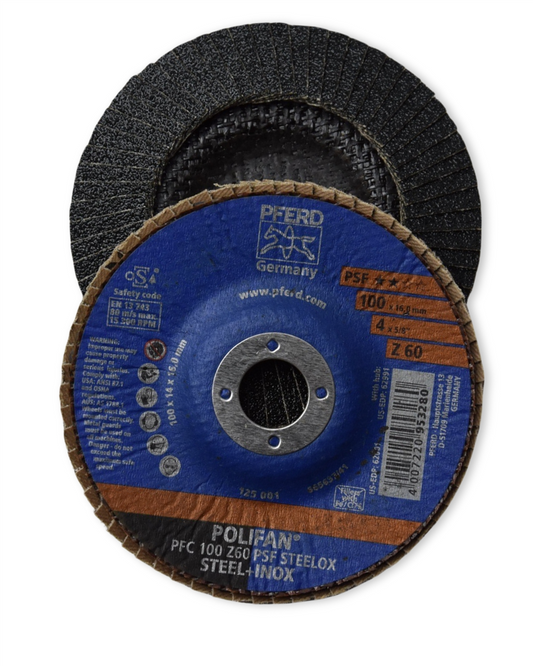
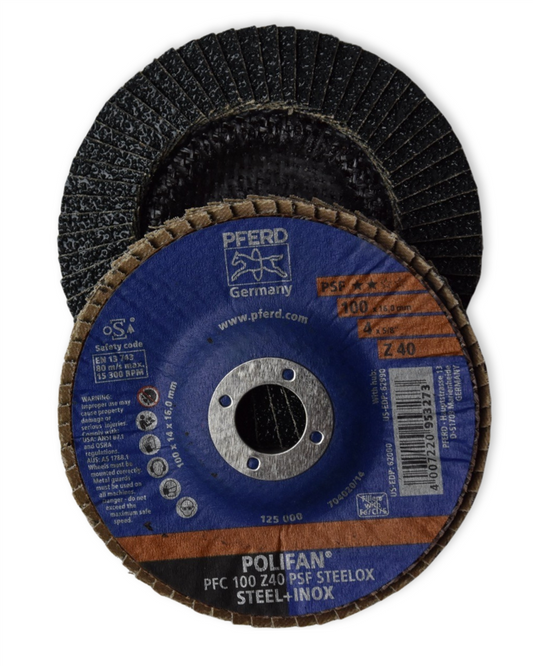
- Sandpaper – fine grit, nothing too harsh
- Touch-up paint – ideally the same shade as your wall (dig out that colour code from the lease if you can!)
- Clean cloth – to dust away any thrills and spills
Step-by-Step: Patch Like a Champ
1. Clean the spot.
Use a dry or lightly damp cloth to get rid of wall dust and any leftover adhesive or fingerprints lurking around the hole.
2. Fill the hole.
Take a dab of wall putty on your scraper and push it into the hole. Press firmly to get it completely flush with the wall’s surface. Scrape away the extra so it’s smooth and not bulging (you’re going for flat, not Mount Everest).
3. Let it dry.
Check the label on your filler—most dry within a few hours. If you’re racing the clock, a hairdryer on gentle heat speeds this along (not that we’ve ever done that... ahem).
4. Sand it gently.
Once dry, lightly sand over the patch until it feels smooth and even. No need to go full renovator. You’re just blending it in.
5. Touch up with paint.
If you’ve got the right colour, go for thin coats. One or two swipes should do the trick. Some walls are more forgiving than others, but even a slightly different shade looks way better than a glaring white blob screaming “I patched this in a panic!”
Real Talk: What If You Goof It?
Made a mess of it? Don’t stress. Bigger holes or deeper damage can sometimes need a bit of extra help. That’s where the legends at Strathalbyn H Hardware come in. Pop in for advice or snag some higher-strength filler and the right gear for a second go. Their team lives and breathes DIY—literally, they’ve patched more walls than a tradie in a dodgy share house.
More Than Just Nail Holes
While you're at it, give your walls the once-over for scuff marks, leftover blue-tack or spots where sticky hooks took the paint with them. A quick trip through each room with a cleaning wipe and a little paint can make everything feel fresh again. Even if the lease is ending, it’s worth leaving behind that final sparkle.
Bonus Tip: Don't Toss the Tools
Keep your patching kit handy. Whether you're moving into a new rental or finally buying that cosy cottage, having your basic toolkit ready means you're always prepared for life’s little dings, scrapes, and creative decorating urges.
You’ve Got This
Getting your bond back doesn’t have to feel like an episode of a game show—“Will They Notice the Hole?!” Patch it, paint it, smile and hand those keys back with confidence. And hey, pop into Strathalbyn H Hardware for whatever you need along the way. We're always happy to see another DIY win! 😄
Cheers to smooth walls and stress-free move-outs,
Candeece

Stay Connected
Follow our Facebook Page: Strathalbyn H Hardware on Facebook

