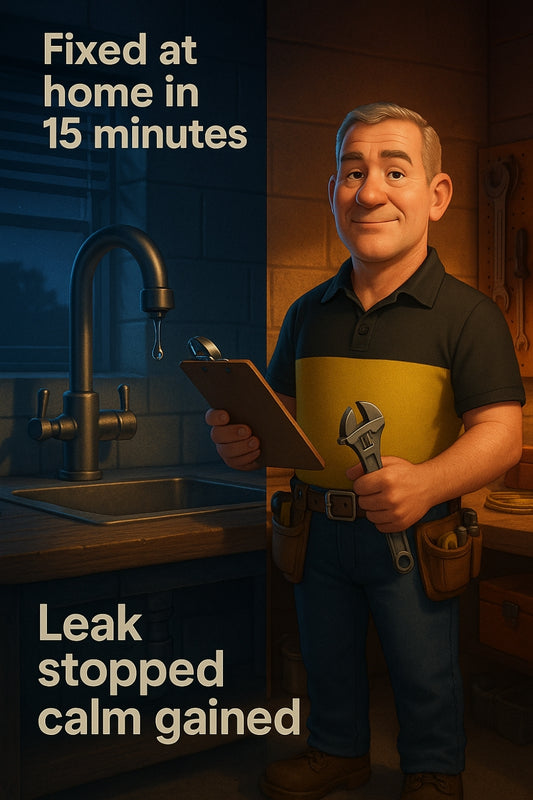
One drip. Two drips. Let’s fix your tap before your sanity springs a leak.
Share
Stop the Drip and Keep Your Sanity: Simple Fixes for a Common Kitchen Culprit
That tap in your kitchen or laundry isn't testing your patience — it just needs a little love
There’s something about the steady drip of a leaky tap that can fray nerves in record time. It’s not just the sound — it’s the thought of wasted water, rising bills, and having to call someone in for what seems like a tiny issue. And let’s be honest, there's a quiet satisfaction in fixing something with your own two hands.
Good news: you can often handle a leaky tap without calling in a plumber. With a few basic tools, a pinch of patience, and a small investment of time, even a first-time fixer can make it right. Better yet, you’ll pick up one of those life skills that keeps on giving.
What Causes a Tap to Leak?
Before you grab a wrench, it helps to know what's likely going on inside. Most household taps use washers or ceramic discs to control water flow. Over time, these parts wear out or shift, causing that infuriating drip.
The most common culprits include:
- Worn rubber washers: These compress every time you turn off the tap – eventually, they give out.
- O-ring damage: The little rubber ring around the spindle can perish and crack.
- Corroded valve seat: Sitting between your tap and the rest of your plumbing, corrosion here can cause leaks too.
- Build-up of sediment or scale: Particularly in hard water areas, limescale sneaks up over time and affects seals.
If your tap's been quietly leaking for weeks (or months—we're not judging), odds are it’s a washer or O-ring situation. Let’s walk you through it — no jargon, no fuss.
How to Fix a Leaky Tap in Six Simple Steps
“Fixing a tap is less about muscle and more about method – slow down and follow the rhythm.” — Candeece H., DIY Specialist
What you’ll need:
- Shifter (adjustable spanner)
- Flathead screwdriver
- Replacement washer or O-ring
- Washer grease or tap lubricant (optional but helpful)
- Old rag or tea towel
Step-by-step:
- Switch the water off at the mains. This is usually outside, near the front of the house.
- Turn on the tap. Let it run to relieve any leftover pressure in the pipes.
- Remove the tap handle. Pry off the cap (if there is one) with a screwdriver and unscrew the top to expose the spindle underneath.
- Use your spanner to unscrew the tap bonnet. Wrap a cloth around it to avoid scratching. Lift out the tap mechanism.
- Inspect and replace the washer or O-ring. You’ll usually find the washer at the base. Replace with a matching part (we can help in-store if you bring the old one).
- Reassemble the tap. Lubricate the washer if needed, and screw everything back the way it was. Don’t overtighten, just snug enough.
Turn the water back on slowly and test things out. If it’s still dripping, don’t sigh just yet — double check everything’s secured and the parts fit properly. Sometimes it takes a second go. If the leak persists, it might be time to inspect the valve seat or bring the tap head into the shop for a closer look.
Preventing Tap Leaks Before They Start
Not all tap leaks are suddenly sprung. Some build slowly — a tiny trickle here, a loose-fitting there. Here are some easy habits to prevent them before they start:
- Don’t crank the tap shut: Tightening too hard wears out the washer quicker. Turn it off firmly, not forcefully.
- Give your tap a seasonal check-up: A quick once-over when you clean the sink can help you notice early signs of wear.
- Flush calcium and debris: If your area has hard water, doing a periodic flush with vinegar can help keep buildup at bay.
- Use quality parts: Cheap washers last as long as cling wrap in a kid’s lunchbox. Go for better materials that stand up to regular use.
Common Questions (That You’re Probably Asking)
1. Is it worth fixing an old tap — or should I just replace it?
If it’s structurally sound and the leak is washer-related, fixing it’s usually the smart call. Replacing is better when the body is cracked, corroded, or leans like a wonky tree after heavy winds.
2. Are mixer taps harder to repair?
A little, yes — they use ceramic cartridges, not rubber washers. Still DIY-able, just requires the right parts and maybe a YouTube moment or two. Bring the cartridge in if unsure.
3. What if I get stuck halfway through?
Don’t panic — either leave the water off or pop the bonnet back on loosely until you can get help. Bring the parts or photos into the shop and we’ll help you pick up where you left off.
A Big Win for a Small Fix
Here’s the thing: fixing a leaky tap doesn’t just save water — it rewires your thinking. You start seeing small issues as chances to learn, not roadblocks to worry over. And that attitude, passed on through little hands watching you work, has a ripple effect far beyond the kitchen sink.
Start with one fix. One tap. One ordinary Sunday afternoon. You’ll be surprised what it stirs up.
Happy fixing,
Candeece H.

Stay Connected
Follow our Facebook Page: Strathalbyn H Hardware on Facebook

