How to Paint Kitchen Cabinets for a Fresh, Modern Look
Share
Freshen Up Your Kitchen: A Step-By-Step Guide to Painting Cabinets Like a Pro
Is your kitchen stuck in the past? Those dated cabinets might be dragging down the whole space. But before you start getting quotes for a full-scale remodel, let’s chat about a much simpler, budget-friendly fix—painting your kitchen cabinets! Yes, a few coats of paint can take those tired cupboards from drab to dazzling. And the best part? Anyone can do it with a bit of patience and the right game plan. Grab a cuppa, and let’s get into it.
Why Paint Your Kitchen Cabinets?
A fresh coat of paint can do wonders. It instantly updates your kitchen, whether you’re aiming for a sleek modern vibe or something cosy and charming. Painting also costs a fraction of what you’d spend on replacing cabinets. And since we’re all about making smart choices, this is an upgrade that won’t break the bank.
What You’ll Need
Before you start, gather your supplies. Having everything on hand makes the job smoother and a lot less stressful.
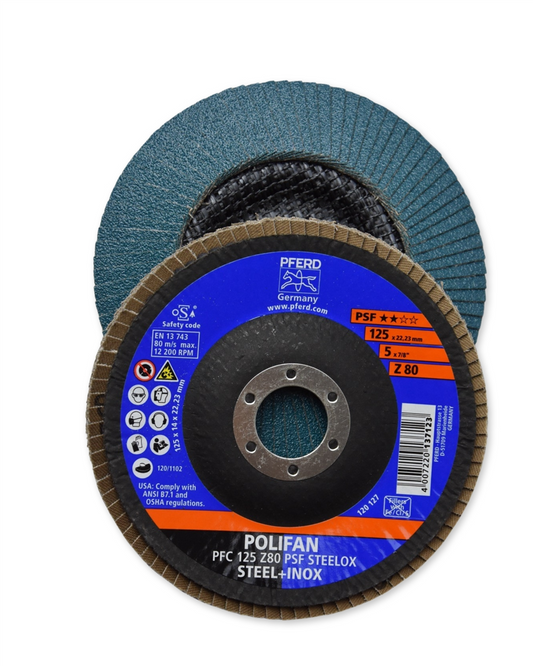
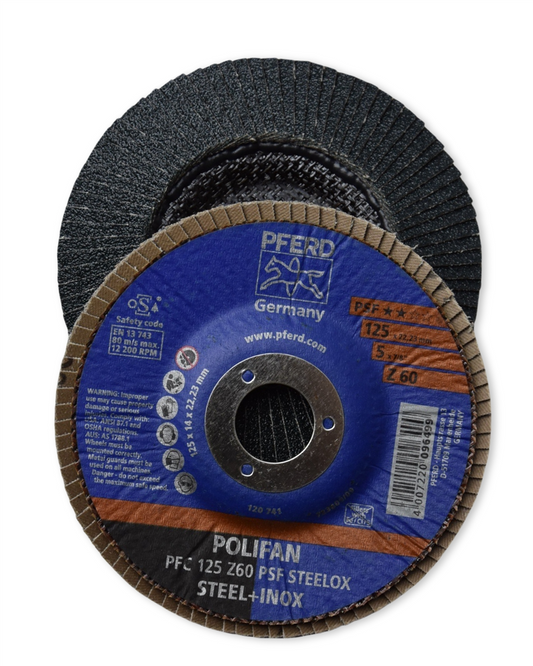
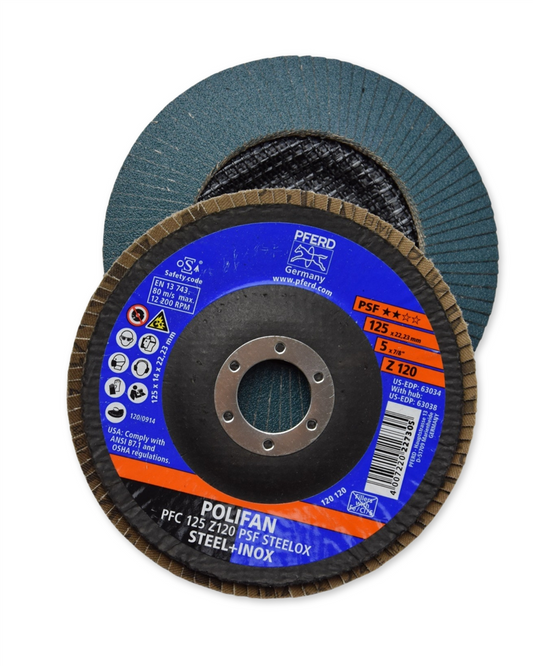
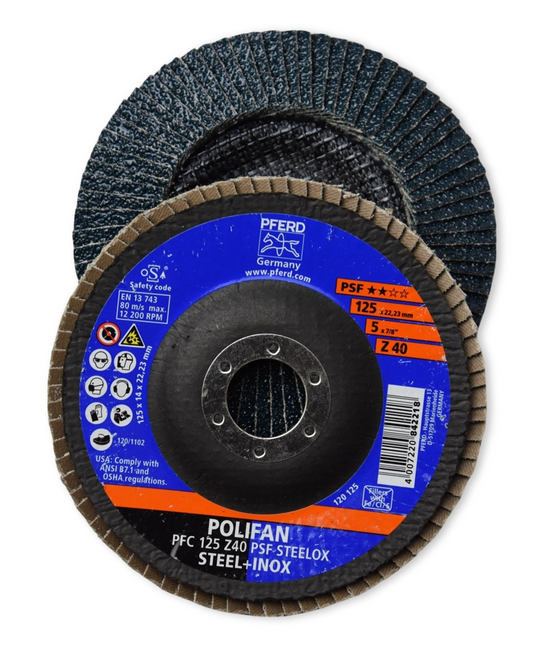
- Sandpaper (120-220 grit) – Helps the paint stick properly.
- Degreaser or sugar soap – Removes grease and built-up grime.
- Painter’s tape – Keeps edges clean and neat.
- Drop sheets – Protects floors and benchtops from drips.
- High-quality paint – Look for something durable and easy to clean.
- Paintbrushes and rollers – A small brush for edges, a roller for smooth surfaces.
- Primer – Essential for long-lasting results.
- Screwdriver – For removing cabinet doors and handles.
Step-By-Step Painting Guide
Step 1: Prep Like a Pro
Start by taking off all the cabinet doors, handles, and hinges. Trust me, painting around them is more trouble than it's worth. Give everything a good clean with sugar soap to get rid of grease and dust. If there’s any peeling paint or rough spots, give the surfaces a light sand for a smooth finish.
Step 2: Prime for Perfection
Primer gets overlooked way too often, but it’s the secret to a professional-looking finish. It helps the paint adhere properly and prevents stains from showing through. Apply a thin, even coat and let it dry completely.
Step 3: The Fun Part—Painting!
Now comes the satisfying part. Use a small brush to get into the corners and a roller for the larger areas. Two thin coats of paint work better than one thick coat—trust me on this. Let each coat dry fully before moving on.
Step 4: Let It Cure
Paint needs time to harden, so give it at least a couple of days before reattaching doors and handles. Rushing this step can lead to smudges and chips, undoing all your hard work.
Step 5: Put Everything Back Together
Reattach the cabinet doors and hardware. If you want an extra fresh look, now’s the perfect time to switch out those old handles for something new and stylish.
Pro Tips for a Flawless Finish
- Opt for a satin or semi-gloss finish – These paint types are easier to clean and more resistant to wear.
- Use light sanding between coats – A quick once-over with fine sandpaper between layers creates a sleek, smooth look.
- Ventilation is key – Keep windows open and use a fan to speed up drying and reduce paint fumes.
Give Your Kitchen a Fresh New Look!
Painting kitchen cabinets is hands down one of the easiest ways to give your space a whole new personality. With a bit of effort and patience, you can turn a tired kitchen into something fresh and modern. And the best part? You get the satisfaction of doing it yourself.
If you’re looking for high-quality paints, brushes, and expert advice, pop into Strathalbyn H Hardware. We’ve got everything you need to get the job done right. Happy painting!
Cheers,
Candeece

Stay Connected
Follow our Facebook Page: Strathalbyn H Hardware on Facebook

