How to Patch Up That Hole in the Wall from Moving Furniture
Share
Tiny Repairs, Big Relief: How to Fix Furniture Dings in Your Wall with Confidence
You know the sound. That horrible thud when you're trying to shuffle a couch through a doorway and… wham! A corner clips the wall, and now there's a glorious dent staring back at you. That wall was pristine thirty seconds ago, and now it looks like a wombat took a run at it!
Whether it's a punched-in plasterboard, a scuffed gouge or a small crack from something heavy nudging past—it’s a common battle scar of furniture-on-the-move misadventures. The good news? Patching up that hole is way easier than it looks—and quite satisfying, too. So grab yourself a cuppa (or something stronger, if the hole is particularly gnarly), and let's walk through it together.
Step One: Size Up the Damage
Not all wall wounds are created equal. Some are just dents in the surface, others are full-blown holes where you can see into the next room. Either way, there’s a fix!
- Small dents or nail holes: These can be swept under the rug with a bit of filler and sanding.
- Medium scrapes and cracks: Slightly more finessing required, but nothing an afternoon and a decent putty knife can’t handle.
- Larger holes: Don’t panic! These are totally fixable with a patch, some patience, and a good bit of filler.
If you're popping into Strathalbyn H Hardware for supplies, handy tip: the staff will help you figure out which gear is best for your particular patch-up job (they’re absolute legends for that).
Step Two: Gather Your Gear
Here’s your cheat sheet to make your walls new again:
- Wall filler or plaster compound
- Putty knife or filling blade
- Wall patch if the hole is on the larger side (like the size of a doorknob or more)
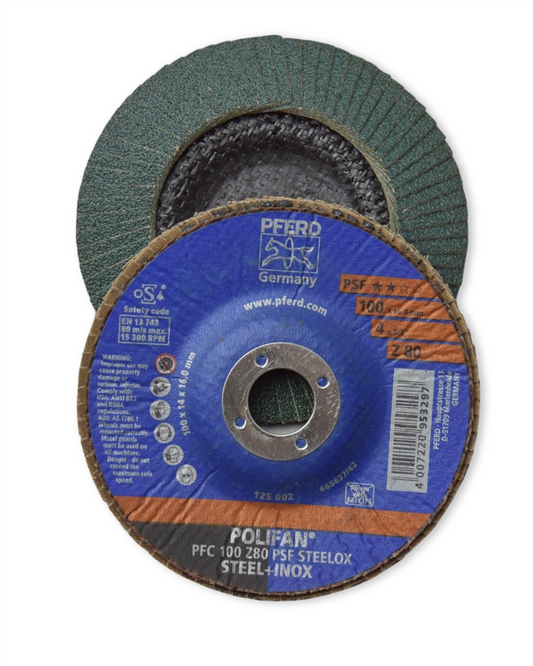
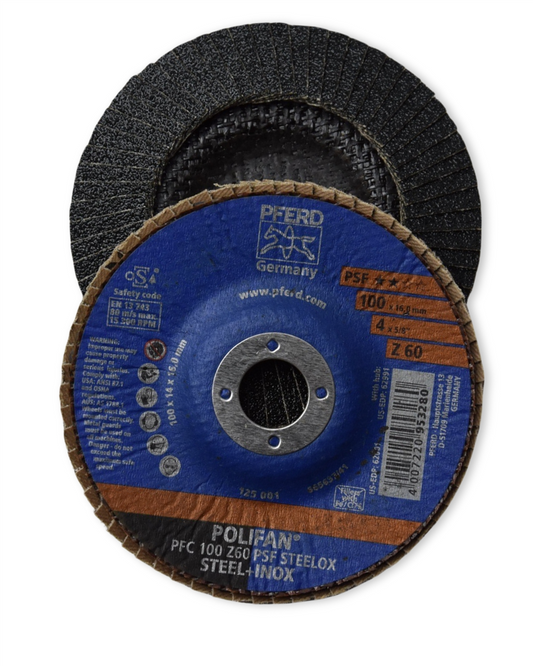
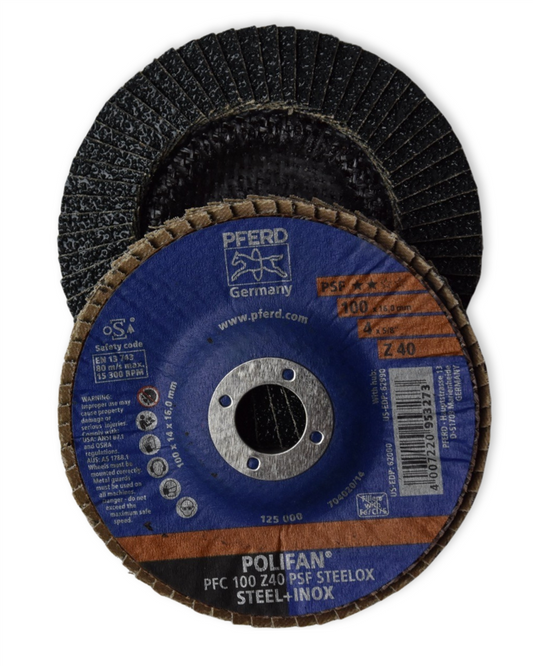
- Sandpaper (medium and fine grit)
- Paint that matches your original wall (or use this as an excuse to repaint the whole room 👀)
- Clean cloth and some warm water
You might already have a few of these tucked away in the shed. If not, Strathalbyn H Hardware has a solid selection—plus those little extras you didn’t know you’d need until you’re elbows deep in filler.
Step Three: Clean Up and Dry Out
Before slapping anything on the wall, it needs to be clean and dry. Get rid of any loose paint or crumbling bits with light sandpaper and wipe the area with a damp cloth. That gets rid of dust and oily smudges. Then put the kettle on while it dries properly.
Step Four: Fill It Like a Pro
This is where the magic happens. Press a good amount of wall filler into the hole or crack using your filling knife. Don’t stress if it’s not perfect on the first try—most patch-ups need two or three layers, especially if the filler shrinks a little as it dries.
Tip from a weekend warrior: Overfill slightly, then sand it back once it’s dry. You'll get that flush, invisible finish you're aiming for.
Step Five: Sand, Smooth and Paint
Once your filler has dried (follow the drying time on the pack—usually a couple of hours), sand the area with medium-grit paper, then finish off with a finer grit. You’re after a smooth blend into the surrounding wall. Run your fingers over it. If it feels like a baby's cheek, you're good to go.
Now, touch up with matching paint. If you’ve still got the original wall colour on hand, perfect! If it’s been a while and the colour's faded, take a flake into the store and they’ll help colour match it as close as possible. Handy, right?
Real Talk: Some Honest Encouragement
If you've never patched a wall before, the first go might be a bit clumsy. That’s okay. Honestly, some of my proudest fixes looked dodgy right before they dried beautifully. It's one of those jobs that feels tough until you're halfway through and start to see it come together.
Also, it's weirdly fun. You feel like one of those clever home reno folks on telly, even if it’s just you, some spack filler, and your playlist cranking in the background.
Got Bigger Projects in the Pipeline?
Wall patches are often just the start. Once you’ve got the hang of repairs, you might start eyeing off other little fixes around the house. And when that happens, Strathalbyn H Hardware has your back with advice, kits, and good old-fashioned know-how. From hand tools to shed supplies to gas bottle swaps—we’re more than just a shop, we’re your second pair of hands.
So next time the furniture takes a chunk out of your plasterboard, don’t let your heart sink. You’ve got this. And hey, if the wall cops another ding next time you move the table: you know exactly what to do.
Cheers and happy fixing,
Candeece

Stay Connected
Follow our Facebook Page: Strathalbyn H Hardware on Facebook

