How to Properly Seal and Stain Wooden Furniture
Share
Sealing and Staining Wooden Furniture: A Step-by-Step Guide for a Stunning Finish
There's something special about well-maintained wooden furniture. It has character, warmth, and a certain charm that other materials can't match. But if left unprotected, wood can crack, fade, and absorb moisture. That’s where sealing and staining come in! Whether you're working on a cherished antique piece or a fresh DIY project, knowing how to do it right will keep your furniture looking beautiful for years to come.
Why Seal and Stain Your Wooden Furniture?
Wood is a living, breathing material. That’s what makes it amazing but also why it needs protection. Sealing and staining do more than just enhance the grain—they shield the surface from wear and tear. Without proper treatment, wood absorbs spills, develops cracks, and can even become a breeding ground for mould.
Staining vs Sealing: What’s the Difference?
- Stain adds colour and enhances the natural beauty of the wood while still allowing the grain to shine through.
- Sealant works as a protective barrier, preventing water, dirt, and UV damage from ruining the finish.
Both go hand in hand—stain enriches the look, and a sealer locks in the goodness.
What You’ll Need
Before diving in, gather your supplies. Having everything ready saves time and makes the process smoother.
- Wood stain (your choice of colour)
- Sealant (polyurethane, lacquer, or wax)
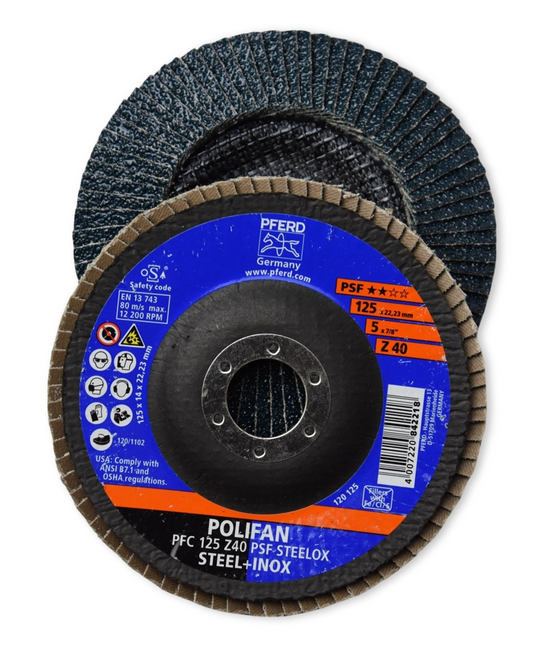
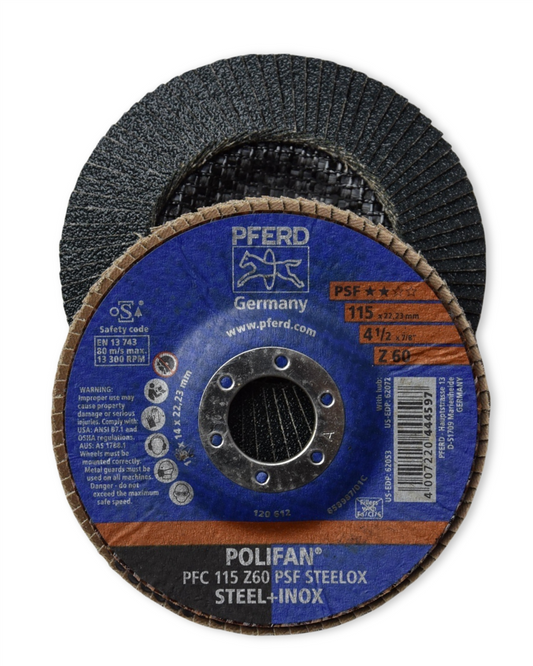
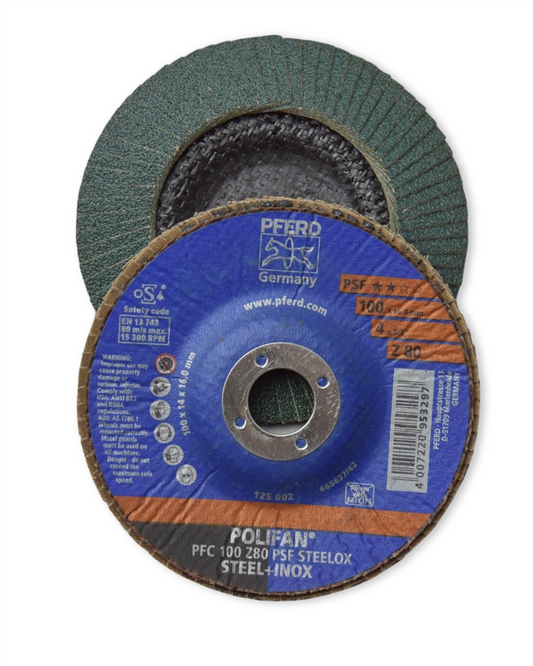
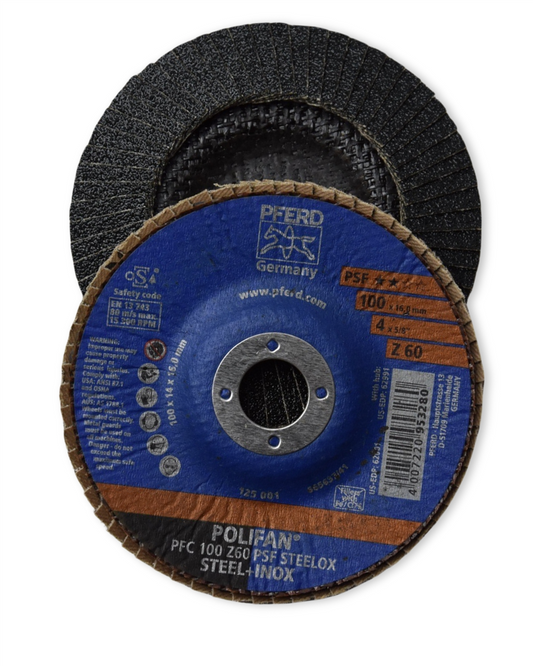
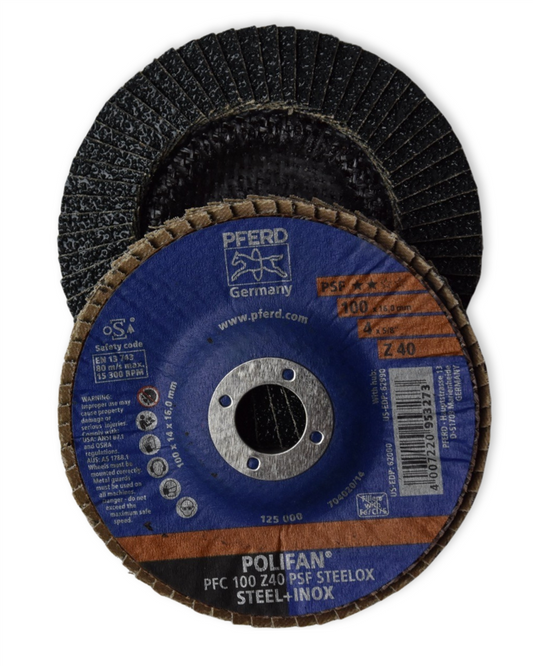
- Sandpaper (120-grit and 220-grit)
- Tack cloth or damp rag
- Paintbrushes or cloth rags
- Drop cloth to protect your workspace
- Gloves to keep your hands clean
Step-by-Step Guide to Sealing and Staining
Step 1: Prepare the Surface
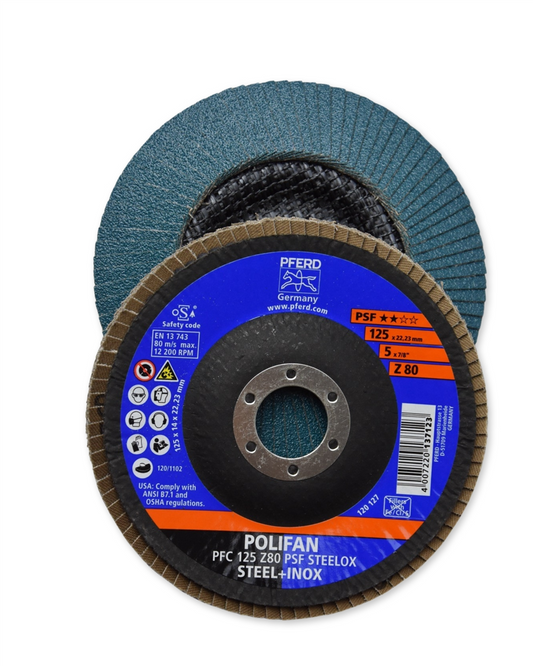
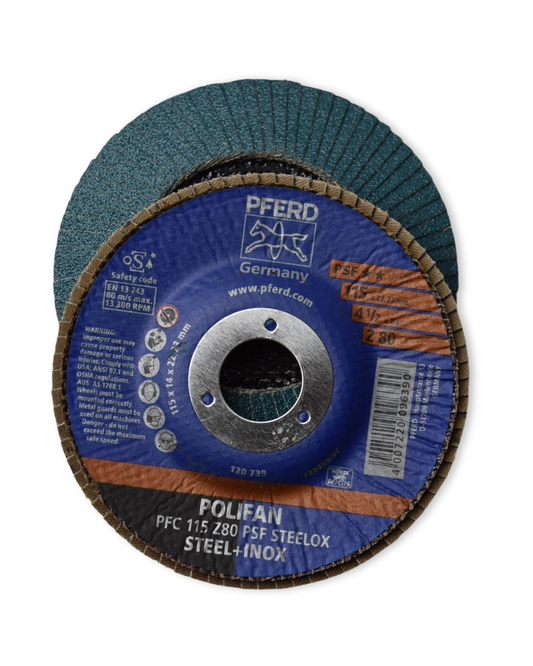
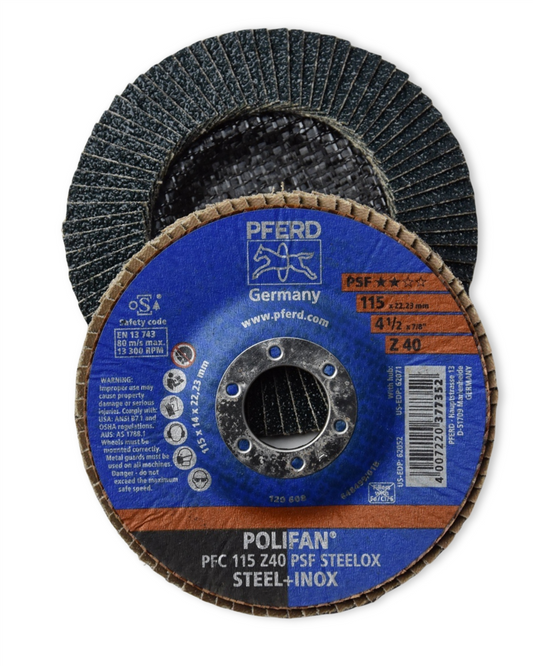
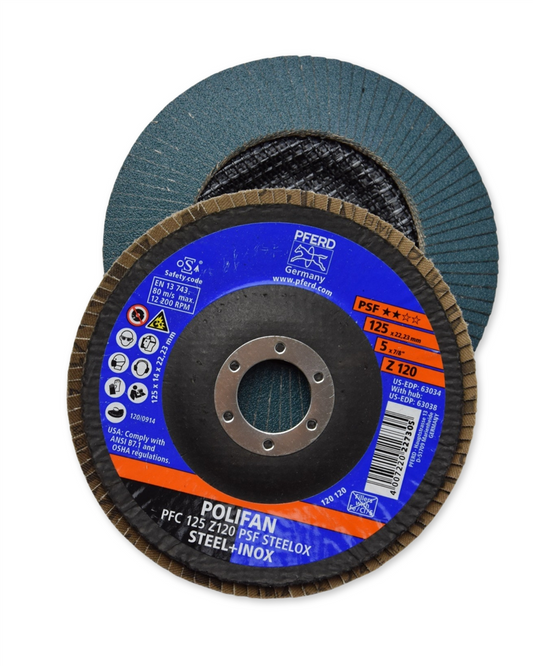
Good prep work makes all the difference. Start by sanding the wood with 120-grit sandpaper to remove rough patches and old finishes. Once you have a smooth surface, switch to 220-grit sandpaper for a fine finish.
After sanding, wipe the piece down with a tack cloth to remove dust. A clean surface helps the stain apply evenly.
Step 2: Apply the Stain
Now comes the fun part! Use a brush or cloth to apply the stain in the direction of the wood grain. Work in small sections to prevent blotches and drips.
- For a deeper colour, let the stain sit for a few minutes before wiping off excess with a clean rag.
- For a lighter finish, wipe off the stain quickly.
Allow the stain to dry completely. Check the product label for recommended drying times.
Step 3: Apply the Sealant
Once the stain is fully dry, it's time to seal the deal! Choose a finish based on the final look you want:
- Polyurethane: Great for high-traffic furniture like dining tables and cabinets.
- Wax: Gives a soft, vintage feel and works well for decorative pieces.
- Lacquer: Dries quickly and provides a smooth, glossy finish.
Use a clean brush to apply the sealant in even strokes. For added durability, apply multiple thin coats, ensuring each layer is dry before adding the next.
Step 4: Light Sanding Between Coats
For that silky-smooth finish, lightly sand between sealant coats using fine-grit sandpaper (about 320-grit). Wipe away any dust before applying the next coat.
Step 5: Final Cure and Enjoy!
Patience is key! Let the furniture sit undisturbed while the finish fully cures. This can take anywhere from a few days to a couple of weeks, depending on the type of sealant used. Once cured, your furniture is ready to shine in your home!
Tips for a Professional-Looking Finish
- Always work in a well-ventilated area to avoid strong fumes.
- Test stains on a scrap piece of wood to ensure you love the colour before applying it to your furniture.
- Use a high-quality brush or lint-free cloth to avoid streaks and bristle marks.
- Avoid touching surfaces while they are still drying to prevent smudges.
Ready to Get Started?
If you’re looking for the best supplies to stain and seal your furniture, visit Strathalbyn H Hardware. With expert advice and high-quality products, you’ll have everything you need to bring out the best in your wooden pieces.
Happy finishing!
Candeece

Stay Connected
Follow our Facebook Page: Strathalbyn H Hardware on Facebook

