How to Prevent and Fix a Leaky Tap Without Calling a Plumber
Share
Say Goodbye to That Drip: Easy Fixes for a Leaky Tap
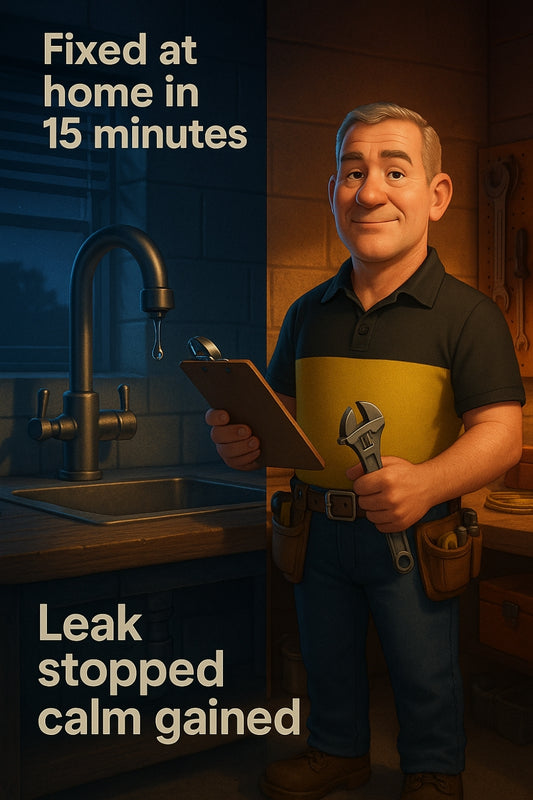
That pesky *drip, drip, drip* in the middle of the night is enough to drive anyone bonkers! Not only is a leaky tap annoying, but it also wastes water and can even increase your water bill. The good news? You don’t need to call a plumber to sort it out. With a few basic tools and a little know-how, you can stop that leak yourself. Let’s roll up our sleeves and get it sorted!
Why Do Taps Leak?
Before diving into the fix, let’s look at why taps start dripping in the first place. More often than not, the culprit is a worn-out washer or an aging O-ring. Everyday use causes these small but vital parts to wear down over time. Mineral buildup, corrosion, or a faulty cartridge can also be the cause. The key is identifying the problem so you can replace the right part.
What You’ll Need
Before you start, grab these tools and supplies:
- Adjustable spanner (or wrench)
- Screwdriver (Phillips or flathead, depending on your tap)
- Replacement washer/O-ring or cartridge
- Plumber’s tape (just in case)
- Cleaning cloth
- Bucket or towel (to catch any stray water)
Step-by-Step Guide to Fixing a Leaky Tap
1. Turn Off the Water Supply
Before doing anything, locate the shut-off valves under your sink and turn them off. If you can’t find them, you might need to turn off your home’s main water supply. Once off, turn the tap on to drain any remaining water.
2. Remove the Tap Handle
Most tap handles are secured with a small screw under a cap or on the side. Use a screwdriver to remove it, then gently pull the handle off. If it’s stubborn, a little wiggle should help.
3. Take Out the Tap Mechanism
Once the handle is off, you’ll see a nut holding the tap’s internals in place. Use an adjustable spanner to unscrew it. Carefully lift out the mechanism and inspect the washer or O-ring.
4. Replace the Washer or O-Ring
If the washer looks cracked or flattened, it’s time for a new one. Swap it out with a matching replacement and make sure it sits properly. If your tap uses a cartridge instead of a washer, replace the whole cartridge.
5. Reassemble and Test
Put everything back in place, ensuring each piece is tightened but not overdone. Turn your water supply back on and test your tap. No more drips? Success! If it’s still leaking, double-check that everything is fitted correctly.
Stopping Leaks Before They Start
A few simple habits can prevent leaks in the future:
- Turn taps off gently rather than cranking them tight.
- Clean your taps regularly to prevent mineral build-up.
- Replace washers and O-rings at the first sign of wear.
- Use a water filter if your area has hard water to reduce scale buildup.
Need Supplies? We’ve Got You Covered!
From washers and O-rings to a brand-new tap if needed, Strathalbyn H Hardware has all the gear to get your plumbing fixes sorted. Plus, our friendly team is always on hand with advice if you need a little extra guidance. Pop in and see us—we’ll make sure you're fully equipped for the job.
Fixing a leaky tap is easier than you think, and it's a skill every DIYer should have up their sleeve. So go on, give it a go. Your water bill (and your sanity) will thank you!
Happy fixing!
— Candeece

Stay Connected
Follow our Facebook Page: Strathalbyn H Hardware on Facebook

