Building a Simple Entryway Shelf for Keys, Coats & More
Share
DIY Entryway Shelf: The Perfect Spot for Keys, Coats & More
Ever played the game of "Where did I put my keys?" If you're anything like me, it's a daily ritual that involves frantic pocket-patting and checking the same three spots over and over. A simple entryway shelf can save you from this madness while adding a touch of charm to your home. And the best part? You can build it yourself with just a few tools and materials!
Why Every Home Needs an Entryway Shelf
Think about it—your entryway is the first thing you see when you walk through the door and the last thing on your way out. A well-placed shelf keeps everything organised, from keys and wallets to hats and coats, so you’re never scrambling at the last minute. Plus, it just looks good!
Whether you're juggling kids, looking to tidy up your space, or simply love a good DIY project, this little addition makes life easier.
What You'll Need
Before you dive in, gather these supplies. You can find them all at Strathalbyn H Hardware—your go-to local store for all things DIY.
- A wooden board: Roughly 60cm long and 20cm deep (or adjust to fit your space).
- Wall brackets: Sturdy enough to hold the weight of keys, coats and decorations.
- Hooks: Screw-in or mounted, depending on your preferred look.
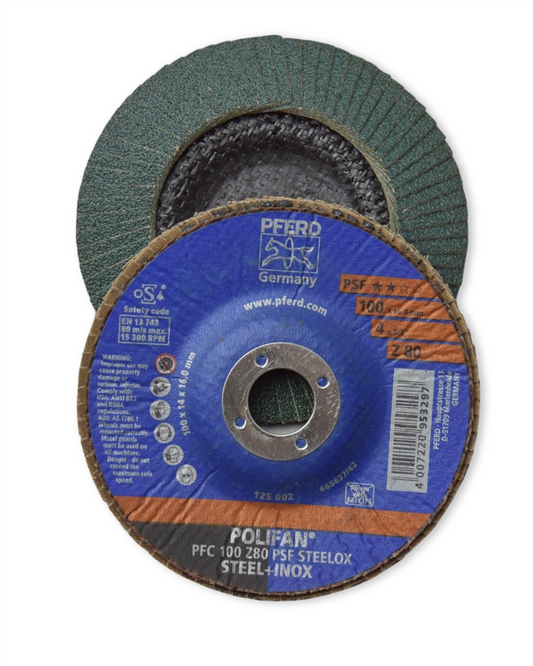
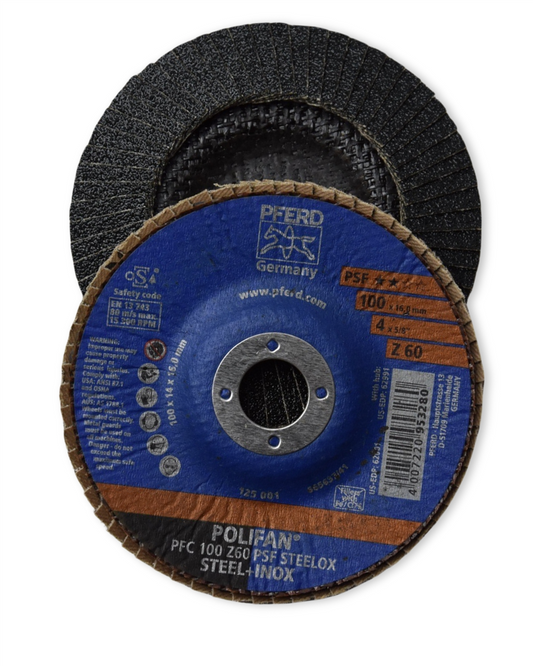
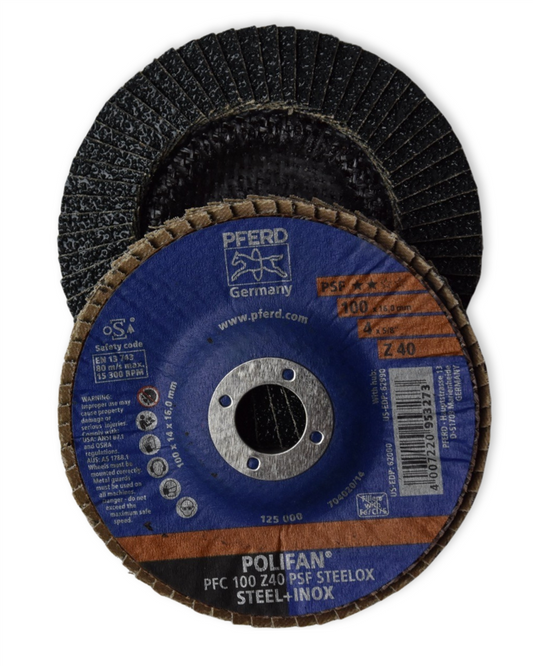
- Sandpaper: To smooth out rough edges.
- Wood stain or paint: Pick a colour that suits your home.
- Screws and wall plugs: For secure mounting.
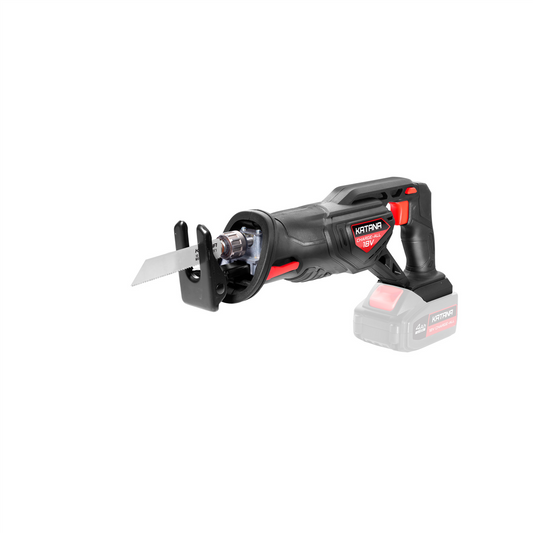
- A drill and screwdriver: Essentials for putting it all together.
Step-by-Step Guide
Step 1: Prep Your Wood
Start by sanding your wooden board until smooth. If you love the rustic look, a light sand keeps some of that natural texture. Prefer something sleek and modern? Sand it down until it feels like silk.
Step 2: Paint or Stain
Time to get creative! A rich wood stain adds warmth, while a white or pastel paint can brighten up your space. Let it dry completely before moving on.
Step 3: Attach the Hooks
Mark where you want your hooks to go. Spacing them evenly avoids a cluttered look. If you’re planning to hang heavier items like coats or bags, position them with enough room to avoid cramming.
Step 4: Secure the Brackets
Position your brackets evenly under the shelf. Mark on the wall where you'll drill, then secure them with screws and wall plugs. Once the brackets are in place, fix the shelf on top.
Step 5: Mount It on the Wall
Hold the shelf up to the wall and use a level to make sure it’s straight. Drill it securely into your marked spots, and you're all set!
Personal Touches to Elevate Your Shelf
Now for the fun part—styling! Add a small plant, a decorative bowl for loose change, or a framed photo to make it feel more like home. If you love a pop of personality, a cheeky quote sign like "Keys, Wallet, Sanity… Check!" adds a bit of humour.
The DIY Satisfaction
Few things feel as rewarding as stepping back and admiring something you've built with your own hands. A simple entryway shelf doesn’t just give your home a practical touch—it makes leaving the house (and coming home) just that little bit easier.
Need supplies? Pop into Strathalbyn H Hardware—our team is always ready to help with expert advice and quality materials.
Happy building!
Candeece

Stay Connected
Follow our Facebook Page: Strathalbyn H Hardware on Facebook

