Patching Small Holes in Walls—The Right Way
Say Goodbye to Small Wall Holes—Here's How to Fix Them
We've all been there. You go to rearrange a picture frame or move a floating shelf, and suddenly, you're left staring at a hole in your pristine wall. It’s small, sure, but it sticks out like a sore thumb. Do you leave it? Cover it with a strategically placed piece of furniture? Or—better yet—fix it the right way?
Patching small holes in walls doesn’t need to be a saga of frustration. With the right tools and a little know-how, you can have that wall looking as good as new in no time. Let’s get cracking!
What You’ll Need
Before you dive in, gather these essentials:
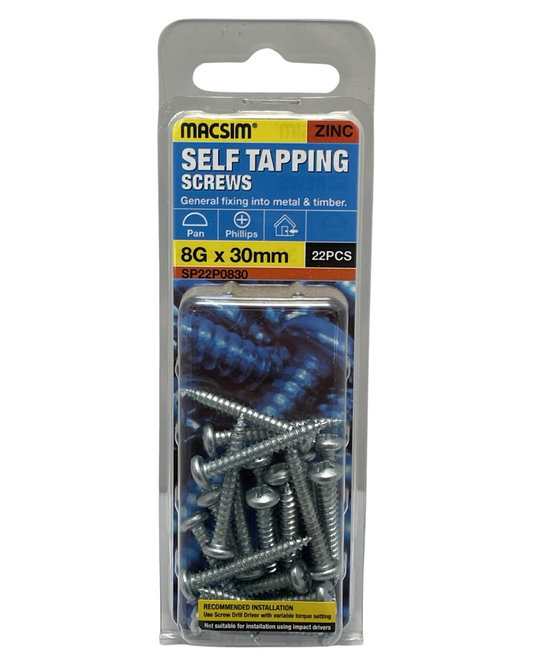
- Spackling paste or pre-mixed wall filler
- Putty knife
- Sandpaper (fine grit)
- Paint
- Small paintbrush or roller
- Damp cloth
You can find all these handy tools and materials at Strathalbyn H Hardware. Plus, you’ll get expert advice on what works best for your specific wall type.
The Simple Fix for Small Holes
Ready to roll up your sleeves? Here’s how to patch those pesky holes properly:
1. Clean the Area
Start by wiping around the hole with a damp cloth to remove any dust or debris. If the hole has rough edges or loose plaster, give it a gentle scrape with the putty knife to smooth it out.
2. Apply the Filler
Take a small amount of spackling paste or wall filler on the putty knife and gently spread it over the hole. Press it in firmly and smooth out the surface. If the hole is slightly deep, apply the filler in thin layers rather than one thick glob (trust me, it makes a difference).
3. Let It Dry
Patience is key. Drying time can vary depending on the product you’re using, but most fillers will be good to go in a couple of hours. Check the packaging for specific instructions.
4. Sand It Smooth
Once the filler is completely dry, grab your fine-grit sandpaper and gently buff the area until it’s flush with the wall. Be careful not to overdo it—you just want a smooth, even surface.
5. Time to Paint
If you have leftover paint from your last wall refresh, now’s the time to use it. Apply a small amount with a brush or roller and feather the edges to blend it seamlessly with the rest of the wall. Let it dry, and do a second coat if needed.
Common Mistakes to Avoid
Even a simple fix can go wrong if you’re not careful. Here’s what to watch out for:
- Skipping sanding: A bumpy patch job will stand out just as much as the hole itself.
- Using too much filler: Less is more! Thick applications take longer to dry and can crack.
- Not matching the paint: If your wall paint has aged or faded, a fresh coat might look different. If in doubt, grab a sample pot to test first.
When to Call a Pro
Small holes? Easy fix. Cracked plaster, peeling paint, or sagging drywall? That’s a whole different story. If your wall damage is a little beyond DIY territory, reach out to an expert before things spiral into a bigger job.
Your Walls Deserve the Best
Patching a small hole is one of those satisfying fix-it moments that makes your home feel fresh again. Plus, it avoids those awkward "Oops, don’t mind that!" conversations when guests visit. If you're ready to tackle your wall repairs, swing by Strathalbyn H Hardware for all your tools, supplies, and expert advice. Happy patching! 😃

Stay Connected
Follow our Facebook Page: Strathalbyn H Hardware on Facebook