How to Prepare Your Yard for a New Shed
Share

So, you’ve decided it’s time to add a shed to your outdoor space. First of all, let’s do a little happy dance—you’re one step closer to taming the chaos and creating the organized, functional home you’ve been dreaming of! Whether it’s for storing those gardening tools, temporarily stashing the kids’ bikes, or setting up that little workshop you’ve been itching to start, having a quality shed will make a huge difference. But before your new outdoor BFF arrives, let’s talk prep work. A great shed starts with a properly prepared yard.
Step 1: Pick the Perfect Spot
Selecting the right location for your shed is like choosing where to put your wardrobe in a new home—you want it functional, but also visually pleasing. Think about accessibility. Will you be lugging heavy garden tools back and forth? Or maybe running to it in the middle of an unexpected rainstorm? You’ll want easy access!
Also, check how level the ground is. Installing a shed on sloped or bumpy land can cause all kinds of headaches later. And don’t forget to consider shared boundaries. Keep enough space between your shed and any fences, trees, or neighboring properties so no disputes or stray branches interfere with your shed’s longevity.
Step 2: Clear the Area
Once you’ve picked the spot, it’s time to give it a little TLC. Remove any grass, plants, roots, and debris from the area where the shed will sit. Trust me, skipping this step is a recipe for frustration down the road. Leftover roots can interfere with your shed’s foundation, turning a quick weekend job into a long-term issue.
If you have any uneven bits of ground where water pools after a rain, make sure to address those too. Standing water and sheds are not the best combo—not unless you're testing how well your new storage holds up as an ark. 😉
Step 3: Lay the Foundation
This is where the magic happens and, no, I don’t mean the type of magic where you wave a wand and the shed appears. Your shed will need a strong, stable base to ensure it stays put for years to come. You can go with a concrete slab, compacted gravel, or even a timber foundation. Each has its benefits:
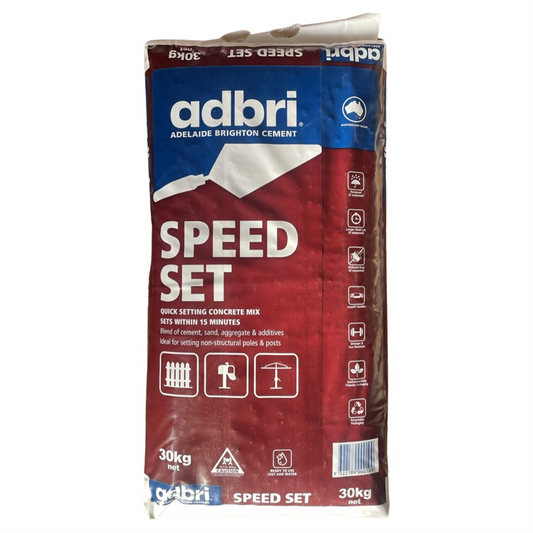
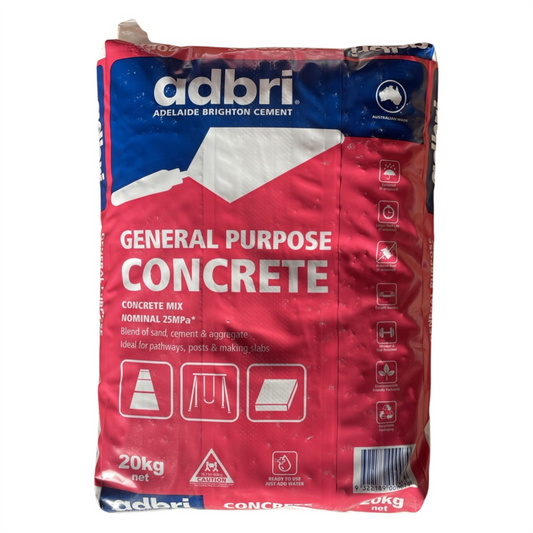
- Concrete: Often the sturdiest option—it’s ideal if you’re planning to use the shed for heavy items. Pro tip? Be sure it’s level!
- Gravel: Budget-friendly and easy to work with. It’s great for drainage too!
- Timber: Perfect for smaller sheds, and since it can be slightly elevated, it’s great for areas with rainfall.
Whichever foundation you pick, remember this: the more effort you put in now, the less chance you’ll have to deal with wobbly floors or warped panels down the track.
Step 4: Plan for Drainage
No one wants to invest in a beautiful, durable shed only to let water turn it into a damp, sad mess. Consider how water flows across your yard—is it likely to gather around the shed during storms? If so, think about adding a gravel trench around the base or re-angling the nearby ground to direct water away. A little thought here can save major problems down the road.
Step 5: Get Council Approvals (If Required)
Here’s the part a lot of people ignore—and trust me, you don’t want to! Depending on your area, there may be rules about shed size, placement, or even permits. Step on the wrong side of these, and you could have to move or dismantle your beautiful new shed—a disaster for anyone! Give your local council a quick ring if you're unsure. It might sound like extra work, but it’s the straightforward way to stay on the right side of the regs.
Step 6: Measure Twice, Accept Deliveries Once
Before your shed arrives or gets built, double-check all your measurements. How big is the space you prepped? Does it fit your shed with a bit of spare room for airflow around the structure? Take your time to make sure everything adds up. It’s far easier to adjust at this stage than after the shed is in place.
When your delivery day rolls around, make sure you’ve got clear access. There’s nothing worse than realising there’s a narrow gate or overhanging branch making life difficult for the installation team. Plan ahead, and delivery day will be as smooth as butter.
Step 7: Level Up Your Landscaping
Here’s a little backyard makeover bonus: tidy up the surrounding area while you’re prepping the shed site. Add some mulch, pave a walkway leading to the shed, or plant some hardy shrubs around it. These small upgrades won’t just make your yard look better—they’ll help tie your new shed into the overall aesthetic instead of making it look like it dropped down from the sky into your lawn!
Why Your Shed Deserves the Prep
Taking the time to prepare your yard properly may seem like extra effort, but there’s nothing more satisfying than watching everything fall into place. A well-prepped yard means your shed stays solid and secure, serving as a reliable extra storage space for years. Plus, knowing that you’ve done it the right way adds a little extra pride every time you slide the door open to find a perfectly organized space.
Ready to get started? If you’re after a shed that’s built to last through years of unpredictable weather, Strathalbyn H Hardware has you covered with the fantastic range of Gardenmaster and Olympic Sheds. Park yourself at our friendly store, ask for Candeece, and let’s turn that backyard vision into reality!


