The easiest way to grow butternut pumpkin in your backyard
Share

Have you ever longed for a garden that produces fresh, mouth-watering veggies you can pluck straight from the ground? Imagine the satisfaction of growing your own butternut pumpkins, those creamy, velvety gems of the veggie world. Whether you're packing them into soups, roasting them as a side, or tossing them into a hearty salad, nothing beats the joy of saying, "I grew this myself!" Today, you'll learn just how simple it is to grow butternut pumpkins in your backyard—even if you’re not sure where to start.
Why Butternut Pumpkin?
If you’re a beginner gardener (hello, and welcome), butternut pumpkin is your go-to backstage pass to creating a fruitful garden. They are hardy, low-maintenance, and generously forgiving—kind of like that friend who laughs when you accidentally text "duck" instead of… well, you know. Plus, pumpkins absolutely love the outdoors and sunny weather, much like we do. They’ll reward you tenfold with their nutrient-packed, vivid orange flesh, perfect for healthy meals.
Step 1: Pick the Perfect Spot
First things first, you’ll need a sun-soaked patch of soil. Pumpkins thrive in open spaces where they can sprawl to their heart's content. Think of them like toddlers reading a room—they just need the space to do their thing. Make sure your little spot gets at least six hours of glorious sunlight each day. Oh, and don’t skimp on the air circulation—it’s their favorite “chill time.”
Do you need loads of space?
Not really! While they do love to stretch out, a small backyard can still host these beauties. Consider growing them along a fence or installing a sturdy trellis. Your butternut pumpkin vines will show off their climbing chops! It’s like turning gardening into an art display.
Step 2: Nurture the Soil
Soil is your pumpkin’s happy place, and they’ve got picky tastes. Start by digging over your patch and removing weeds. Then, mix in compost or well-rotted manure. Pumpkins are like foodies—they want rich, nutrient-laden soil for optimal yumminess. Adding organic material will also help the soil hold onto water, which these thirsty plants will thank you for!
Step 3: Plant with Care
Planting pumpkins is easy-peasy. Sow seeds directly into the ground about 2-3 weeks after the last frost. To give pumpkins their best chances of survival, plant them in small mounds of dirt. You’re essentially creating little soil thrones—fancy, right? Spaced about 80-100 cm apart, these “mounds” keep seeds warm, improve drainage, and ensure the roots are well-connected to the earthy buffet below.
If you’re starting with seedlings, even better! Just make sure to handle them with care while transplanting. They’re a touch delicate at this stage, a bit like your favorite mug (and we all know what it’s like to lose a mug tragedy). Dig a small hole, gently place your seedling, and voilá—you’re officially parenting a pumpkin.
Step 4: Keep an Eye on Watering
Pumpkins are incredibly dramatic about water—it’s either all or nothing for them. Confused? Let me explain. They need their soil consistently moist, but soaking them too much will send them into a hissy fit. The trick? Deep, long waterings once or twice a week, especially as they’re growing. Keep water aimed at the base to avoid wetting the leaves, which encourages mildew.
A simple watering habit:
Use mulch! A layer of straw or sugarcane mulch around the base locks in moisture while keeping soil temps consistent. Sweet deal, right?
We recommend either sugar cane mulch or who flung dung activated mulch to keep them happy.
Step 5: Give Them Room to Breathe (and Feed)
Pumpkins grow fast. They’re like that one friend who buys a mansion while you're still figuring out your rent. To feed their hunger, add a balanced fertiliser every couple of weeks. Look for something that has a good mix of nitrogen for leafy growth early on and potassium for flowers—and eventually fruits—later.
A Fortnightly Secret:
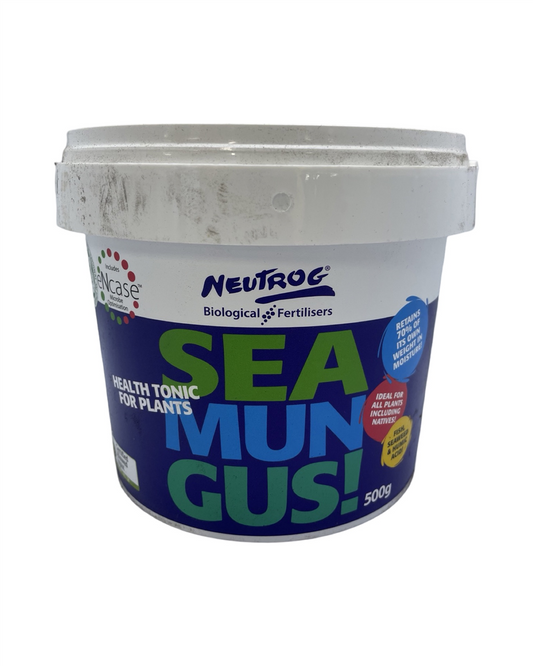
Liquid seaweed fertiliser can boost plant health. Plus—it’s beginner-friendly, doesn’t overcomplicate things, and works like plant magic!
Step 6: Deal with the Drama
Garden drama usually appears in the form of pests or spotting on leaves. The two main mischief-makers are powdery mildew and aphids. Wiping them out is easier than you think. Powdery mildew can be managed with a mix of milk and water (yep, milk!) sprayed lightly on affected areas. For aphids, bring in ladybugs—nature’s hired knights.
If weeds crop up, pull them gently by hand. Pumpkins hate competition, so don’t let the uninvited guests rob resources from your potential bounty.
Step 7: Know When to Harvest
Here’s the part you’ve been waiting for: harvest time! A sure sign your pumpkins are ready? The skin doesn’t dent easily when you press it with your fingernail, and the color is vibrant. Oh, and don’t be in too much of a rush to cut the vine—allowing the fruit to mature fully on the plant results in sweeter, richer flavors.
Your Reward Awaits
There’s something magical about strolling into your backyard and plucking your first golden butternut pumpkin off the vine. Not only will you save money, but you’ll have a supply chain-free feast full of bragging rights. Taking your gardening journey one humble seed at a time, you’re gradually planting not just veggies but something more special—pride and patience. So, are you ready to get started? Your new green thumb is calling!
Happy planting—you’ve totally got this 🎃!
Candeece


