Little Creatures fan? Finally brew that flavour at home—without a pro setup or brewing chaos.
Craft beer taste at home? Here’s how to nail it without fancy equipment
Subhead: Brew beer that actually tastes like your favourite craft pint – no guesswork, no gimmicks
We’ve all taken that first sip of a crisp, floral pale at the local brewery and thought, “I wish I could make this at home.” Then you fire up YouTube, find 27 opinions, get tangled in talk about mash temps and diacetyl rests—and suddenly you’re staring at your fermenter thinking it’s all a bit much.
But here’s the truth: with the right base, a few tweaks, and gear that’s not built to break your spirit (or your weekend), you’re closer than you think to pouring a glass that could give your local bar tap a run for its money.
“The secret’s not some magic grain—it’s knowing how to use what you’ve got right.”
Start with a solid backbone

The base malt kit you choose does 80% of the heavy lifting. If you want that crisp, clean, pub-style draught with just enough bite to keep it interesting, start with something like the Coopers Original Draught. This draught beer features a light yellow-gold colour with a tightly packed white head. It has a floral aroma with a hint of malt, a medium-bodied palate with delicate hopping, and a slightly bitter finish. Think of it as the blank canvas with just enough brushstrokes—perfect for painting your own masterpiece.
Clone the flavour you crave
Tried and true trick: reverse-style brewing. Find the tasting notes of the commercial beer you love (many breweries now list them openly), then break it down into these parts:
- Malt flavour: Light and toasty? Caramel? Biscuit-like?
- Hop profile: More floral, fruity, grassy, or citrusy?
- Body and mouthfeel: Full, silky, or dry and snappy?
- Bitterness level: Subtle or biting?
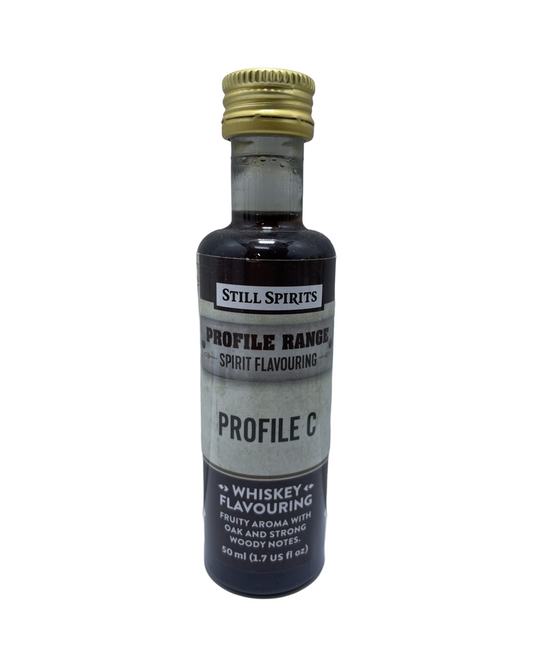
From there, layer ingredients to hit similar tones. For example: Want something close to a Pirate Life Pale Ale? Add a late hop addition of Galaxy or Mosaic during fermentation using a hop sock. Looking for a Little Creatures vibe? Light caramel malt extract and dry hopping with Cascade or Chinook will get you close.
Get your yeast right
It’s not talked about enough, but yeast is more than just a bubble-maker—it’s a flavour amplifier. Swap out the generic packet that comes with most kits, and match your strain to the style you’re chasing. A good ale yeast for Australian conditions is Safale US-05—neutral profile, great attenuation, clean finish. It's the unsung hero in more pro-looking brews than you think.
Shed hacks that make a difference
Here’s where blokes like us really shine—turning backyard bits into brewing wins:
- Temperature control on the cheap: Wrap your fermenter with an old sleeping bag and use a low-draw heating belt to keep temps steady on cooler nights.
- Bottling station in a milk crate: Just add a bottling wand, and you're set—gravity does the rest.
- Testing without wasting: Grab a hydrometer and plastic test jar, and only pull 100ml when you need to check gravity. Keeps your batch sealed and reduces contamination chances.
All of this gear is available from us—and chosen because it works here in South Aussie conditions. No fluff. Just appliances that don’t burn the brew or your patience.
Consistency is king (and easier than it sounds)
The best brewers I know don’t call themselves perfectionists. They’re just consistent. Brew once with notes—you’ll forget half of what you did. Brew three times with the same kit and nail your process, and people will start asking if you’ve got a secret contract with a brewery.
“I started out just wanting to make decent beer. Season two? Mates were asking for refills.”
Pint-worthy add-ons
Once you’ve nailed your base recipe, start claiming your signature:
- Dry hop for aroma: Add hops after day 4 for that fruit punch hit upfront.
- Cold crash for clarity: Chill your fermenter before bottling—it drops out haze and dries the finish.
- Bottle with bulk priming: Use a priming sugar calculator and add to the whole batch before bottling for better fizz control.
These are the little things that take a good backyard brew and slide it right next to your favourite craftie, pint for pint.
And if it flops?
Here’s the best part about brewing your own—if it misses the mark, you haven’t wasted months or drained your paycheck. You’ve learned. Chuck it, tweak it, or mix it with lemonade and call it a “summer special.” We’ve all had a dud batch. It’s owning the process that sets you apart from blokes still swiping left on the taps.
Final Sip
You don’t need a 16-litre conical or a degree in zymurgy to put a seriously good beer in your fridge. You need the right base, honest gear, and the kind of know-how you won’t find in flashy videos that skip the bits that matter.
The only real difference between a backyard brew that tastes like a craft brand and a store-bought pale? One of them’s got your fingerprints on the bottle.
Happy brewing,
Candeece

Stay Connected
Join our homebrewing community: Beer and Barrel Society on Facebook
Follow our Facebook Page: Strathalbyn H Hardware on Facebook