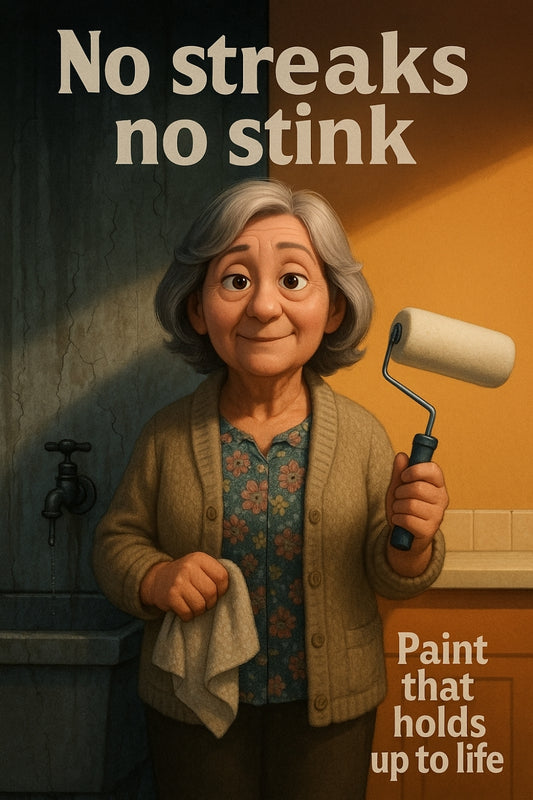
Prep your roller right — or fix roller stripes mid-job with gritted teeth and regrets.
Share
Painting Prep That Pays Off: Start Smart, Finish Strong
Here’s the thing about painting — it looks easy till your roller dries mid-wall or your brush starts throwing bristles like it’s quitting the job. It's not just the paint that makes or breaks a project. It’s how well you prep your gear before the first lick hits the wall.
Half the battles with DIY painting jobs are won before you even open the lid of the tin. Get your tools prepped properly, and you'll spend less time fixing mistakes and more time admiring your work — maybe even with a cold one in hand before sundown.
Why Tool Prep Isn't Just a Fussy Step
Anyone can slap on a coat of colour. But the difference between a pro-looking finish and a patchy disaster often comes down to how your tools were handled before go-time. Ever heard an old-hand sigh, “Should’ve rinsed that roller”? Yeah, that sticks with you.
Your tools can either be your best mates on the job — smooth, steady, reliable — or a massive headache. Start smart, and you won’t be pulling dried paint chunks out of your project halfway through.
The Two-Minute Roller or Brush Check (You’ll Thank Yourself Later)
Here's a quick gut-check before you load up your paint tray:
- Loose bristles? Tug gently on a new brush to pull any duds free. No one wants a rogue hair drying into their fresh white wall.
- Lint on the roller? Wrap masking tape around your hand (sticky side out) and roll it over the cover. It'll pull off the fuzz without drama.
Do I Really Need to Wash New Brushes?
Short answer — yep. New brushes come with oils, dust, or few sneaky stray hairs from manufacturing. Run them under lukewarm water for half a minute and give them a quick wiggle with your fingers. Not wet, just…conditioned. It'll help the paint glide smoother too.
“I always tell young painters, treat your tools like you’d treat a mate’s new car — keep them clean, ready, and don’t trash them after one run.”
– Candeece from the shop floor
Prime Your Roller – Dry Rollers Ruin Dreams
Here’s where good jobs go bad. Ever dipped a bone-dry roller straight into the paint? It’s like spreading honey on toast with a toothbrush — patchy, uneven, and you’ll work twice as hard just to fix it.
Before painting, dampen your roller cover slightly with water (for water-based paint) or turps (for oil-based). Squeeze out any excess so it’s just damp, not drippy. This helps the roller absorb paint more evenly right from the first dip.
Set Yourself Up: Tools Checklist Before You Crack the Tin
- Sturdy roller frame and cover (cleaned and pre-conditioned)
- Good quality brush – the one that doesn’t leave streaks or bristles
- Paint tray, lined if possible for easy cleanup
- Drop sheets — even old ones from Gran’s linen cupboard
- Painters tape — get those edges crisp
- Extension pole, if you're working above shoulder height
Planning to pour a full tin into the tray? Don’t. Start with a smaller amount and top up as needed. Less mess, less waste, more control.
Tough Truth: Rushing This Bit Just Adds Work Later
It's easy to get itchy feet and dive into the painting. But paint applied with poorly-prepped gear dries ugly and peels sooner. That means more sanding, more money, more time on rework. Prepping tools takes less than 10 minutes. It’ll save you hours — and buckets of regret down the track.
One Last Tip? Clean as You Go
Painting isn’t done when the wall’s dry — it’s done when your tools are cleaned, dried, and packed away properly. Don’t leave brushes resting in water overnight (they’ll bend or crack), and always get paint out before it dries. Store rollers upright, handles down, and wrap them if you're painting again the next day.
You don’t need a dozen tools to do a good job — just the right ones, prepped like they matter. Because they do.
Happy painting, legends 👊
– Candeece

Stay Connected
Follow our Facebook Page: Strathalbyn H Hardware on Facebook


