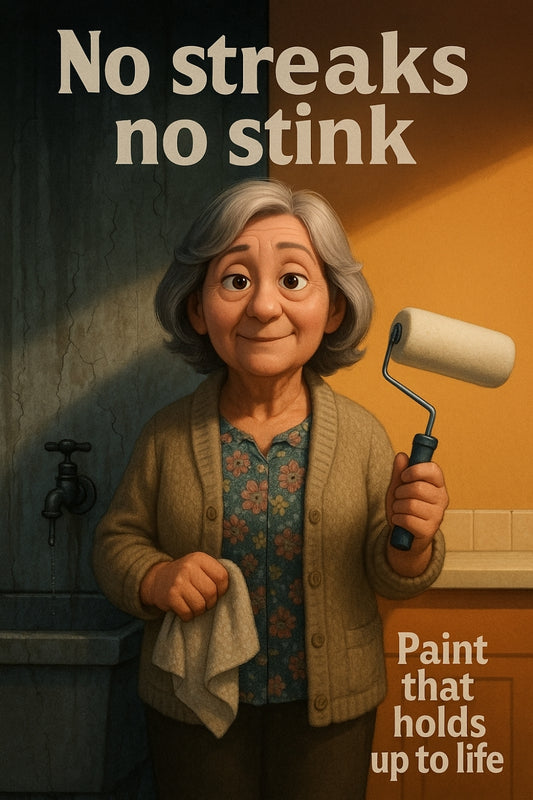
Smooth walls aren’t luck — they’re sanded like someone actually cared about the finish
Share
Sanding Secrets: Why That Rough Patch Is Stopping Your Paint from Shining
Because a smooth surface is the quiet hero behind every wow-worthy paint job
You know how some walls just look... better? Even before the colour kicks in, some surfaces just seem to sing. Smooth. Seamless. Like they were finished by a magician with a steady hand. But here’s the thing — no magic, just elbow grease and smart sanding.
Prep is often where things go right — or seriously wrong. And nothing sets the stage for a perfect finish like mastering the not-so-glamorous, wildly underrated art of sanding. Whether you’re repainting a bedroom, fixing door trims, or reviving a tired set of drawers, getting this part right saves you from frustration down the track.
“If paint is the star of the show, sanding is the crew backstage making everything run smooth.”
Why Does Surface Smoothness Matter So Much?
Because uneven surfaces don’t just look off — they behave badly. Lumpy walls catch shadows weirdly. Scratched furniture sucks up paint too fast. Rough patches chew through rollers like a hungry goat on laundry day. The result? A finish that feels half-hearted, no matter how dreamy the colour might’ve looked in your head.
Here’s what smooth sanding sets you up for:
- Better adhesion: Paint grips best to a well-sanded surface that’s free from gloss, grime, or previous scuffs.
- Longer-lasting finish: Smooth surfaces are less likely to chip, peel, or blister later on.
- That pro-level look: It’s the difference between “Did you do that yourself?” and “Who did your walls?”
Common Sanding Mistakes That Ruin the Final Look
Let’s call them out, so we can steer clear:
- Skipping grits: Jumping from coarse to fine in one go can leave wonky scratch marks behind.
- Using worn-out sandpaper: It’ll glide over problems instead of fixing them.
- Going in circles: Random swirls can show up under paint – stick to consistent strokes.
- Not dusting off after: Paint hates dust. Always wipe surfaces clean before reaching for the brush.
And always, always let the surface guide you. If it looks rough or uneven, it probably needs more love — not just a coat of paint.
Choosing the Right Sandpaper for the Job
It’s not just about grit — it’s about the kind of grit, the tool you’re using, and the material you’re working with. Think of it like choosing the right knife in a kitchen. Here’s a rough guide that’s easier to stick to than a BBQ sausage on a summer afternoon:
- Coarse (40–60 grit): For stripping back old paint or smoothing out major surface damage.
- Medium (80–120 grit): Great for smoothing timber or prepping walls for primer.
- Fine (150–180 grit): Your go-to for in-between coats of primer and paint.
- Very Fine (220+ grit): Final finishes, smoothing between topcoats, or delicate areas like cabinetry.
Pro tip: When in doubt, start with a finer grit and go coarser only if needed. You can always take more off — can’t put it back on.
To Power Sand or Hand Sand?
This one’s hotly debated in sheds and workshops all over — but like most things in life, it depends. Here’s how to pick your team:
Hand sanding is best for:
- Light prep work
- Small or intricate surfaces (like furniture frames or window sashes)
- Final finish sanding
Power sanding is a gem when:
- You’re tackling large, flat surfaces
- You’ve got serious roughness to deal with
- There’s old paint that needs stripping fast
But here’s the golden rule: let the tool do the work. Don’t push too hard — you want to finesse, not force, the surface.
Actually Sanding: A Step-by-Step You’ll Remember
This isn’t a military drill — it’s more like prepping a canvas before painting your next masterpiece. Here’s a reliable rhythm you can count on:
- Clean the surface first — Remove dirt, oils, or flaking paint. Sanding a dirty surface just pushes the mess around.
- Start with medium grit — Especially if it’s your first go or there’s old paint involved.
- Use consistent pressure — Let your wrist do the moving, not your shoulder. Treat it like polishing a wine glass, not scrubbing a BBQ plate.
- Always follow the grain — Especially on timber. Across the grain = scratch city.
- Finish with fine grit — Give your surface a final go-over to smooth things out.
- Wipe it all down — Microfibre cloths or tack cloths are great here. Don’t forget the nooks!
How to Tell If It’s Smooth Enough
Your fingertips never lie. Run your hand slowly over the surface. It should feel like clean paper or chalky velvet — not gritty, not bumpy, not sticky. Bonus test: close your eyes. If your fingers catch or skip, go again with fine sandpaper. Trust the hands over the eyes here.
When Sanding Meets Sustainability
If you’re reusing old furniture, salvaging fence palings, or upcycling that op-shop cabinet that’s seen a few decades: sanding becomes your best friend. It doesn’t just prep surfaces — it extends their life, revives character, and avoids waste. Just like compost plates keep food scraps out of landfill, good sanding keeps old materials working harder, longer, better.
“Every brush-stroke looks better on a surface that’s been patiently prepped.”
Closing the Loop
Painting is often the bit we look forward to — the colour reveal, the crisp lines, the sense of progress. But it’s easy to forget that good prep work makes all those moments feel twice as satisfying.
So next time you’re gearing up for a refresh, take your time with that sander. Feel the rhythm. Let it connect you to the project in a hands-on kind of way. Good sanding doesn’t just shape surfaces. It shapes outcomes.
Stick with it. Take pride in the prep. And enjoy the moment you step back and think, “Yep — that’s smoother than I expected.”
All the best with your next sanding sesh,
Candeece

Stay Connected
Follow our Facebook Page: Strathalbyn H Hardware on Facebook


