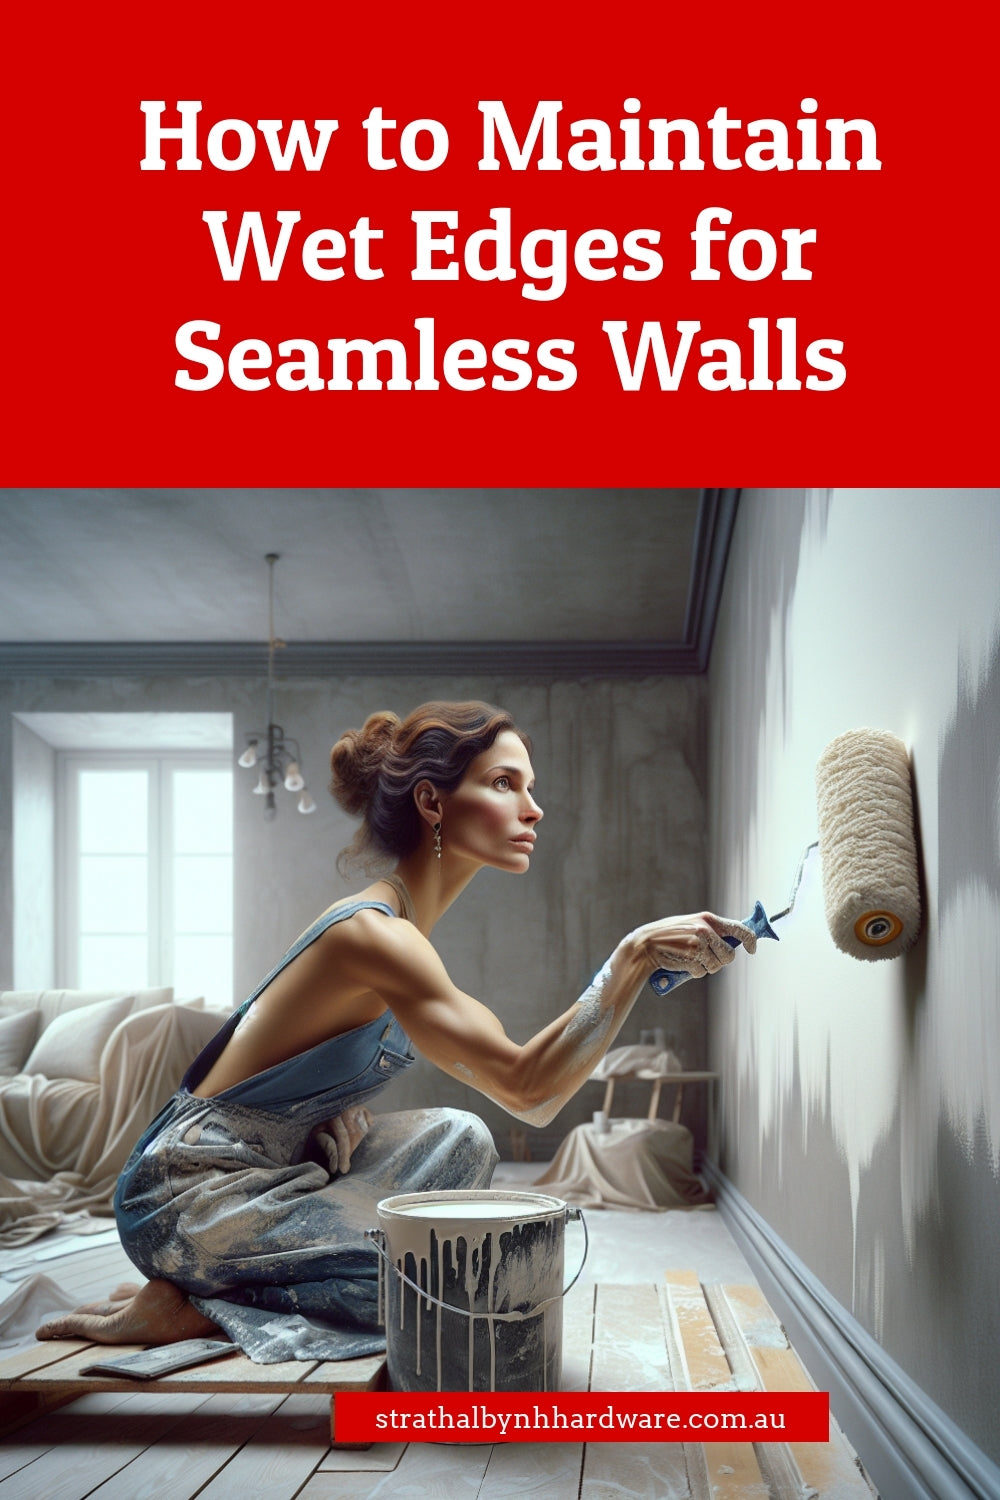
How to Maintain Wet Edges for Seamless Walls
Share
Say Goodbye to Streaky Walls: Your Secret to a Store-Worthy Paint Finish
Have you ever looked at a freshly painted wall and felt a pang of regret? You planned the colour, prepped like a champ, rolled up your sleeves with excitement... and then noticed those dreaded streaks and patchy spots. You’re not alone, friend! One of the most common mistakes people make when painting is not keeping a wet edge. It sounds tame, but it’s a game-changer if you want that flawless, magazine-cover look on your walls.
What Even Is a “Wet Edge”?
Let’s pull back the curtain real quick. A ‘wet edge’ simply means you’re keeping your roller or brush moving on wet paint—not dried or half-dry paint. This technique helps prevent visible lines, lap marks, and that uneven overlap that’s hard to unsee once you’ve spotted it. When done right, it helps the new stroke blend into the previous one, which stops the patchwork effect (think: like adding icing while it’s still soft instead of icing stiff cookie dough).
Paint Like a Pro: Timing Is Everything
Ever baked banana bread that came out just a bit raw in the middle? Painting without attention to timing is the DIY version of that. Whether you're working inside or on the exterior of your home, once one section dries, it becomes tricky to get that ultra-smooth finish. Your best friend here? Sectioning.
Move in 1–2 metre sections, and roll from top to bottom in a continuous stroke while keeping a top-down ‘W’ motion—that helps spread the paint evenly before going over again to smooth it all out. And whatever you do... don’t pause for a phone call in the middle of a wall!
Whose Side Is Gravity On Anyway?
Painting walls is part artwork, part strategic planning. Start at the top and work down. Trust me, gravity is going to pull paint down regardless—you want to work with her, not against her. This helps you spot and blend any drips or heavy spots before they dry into the wall forever.
Choosing Tools That Work With You (Not Against You)
If painting's like cooking, then your roller and paint tray are your saucepans. Invest in the ones that don’t mess around.
Opt for high-quality brushes and rollers that hold a good amount of paint but let it flow consistently. I love using Haymes Ultra Premium Ceiling or Walls for these kinds of jobs. Why? Because this paint stays wetter longer—buying you vital time to blend edges in before they dry too fast. Plus, it’s silky smooth on application. If you're going for a flat, sheer look, using a product like  Haymes Ultra Premium Ceiling is brilliant—it stays consistent in sheen and lets you work efficiently without pulling what’s already started to dry.
A roller extension pole makes life a thousand percent easier if you’re working on higher spaces or don’t love the gym. It helps keep strokes consistent, too (which is handy when balance isn’t your best friend on ladders).
Don't Forget Weather and Lighting!
Here's something even seasoned DIYers overlook—the weather. Yep, temperature and humidity affect drying time. Hot, dry weather makes paint dry faster, which means you have less time to blend that wet edge. On cooler, more humid days, paint can stay wet a bit longer, giving you breathing room.
Need an added bonus? Natural light gives a true sense of how your walls are shaping up as you paint. Shadows can fool you indoors, so position lighting or wait for the daylight to assess before stripping tape or calling it a day.
The Paint Itself Matters. A Lot.
This step’s often underestimated. Not all paints behave the same. Some dry quicker, some drag, and others need multiple coats because the opacity just isn’t there.
That’s why choosing quality paint like Haymes Ultra Premium Expressions Interior could be your golden ticket. It’s crafted for outstanding flow and levelling, which basically means fewer streaks and smoother recovery zones if you need to go over an area again.
Here’s where expert advice makes a huge difference. Chatting to your local paint shop (hello, Strathalbyn H Hardware fam!) can help you match the best product with your specific day or surface—inside or out.
Roller's Done—Now What?
Once the wall’s painted, give it time. A rushed second coat can ruin your work faster than sticky fingers on a birthday cake.
And finally, take a step back when you’re done. Revel in the clean lines and unified finish. Send a photo to your mates and wait for the compliments to roll in (pun fully intended 🎨).
A Quick Recap for Next-Level Results
- Work in small sections from top to bottom
- Keep those edges moving while the paint is still wet
- Choose products designed for smooth blending like Haymes Ultra Premium Ceiling or Wall ranges
- Use the right roller nap for your surface: shorter nap for smooth walls, longer nap for textured
- Paint in natural light when possible and plan around fast-drying weather
Ready to plan your next project? Pop into Strathalbyn H Hardware and have a yarn with us about your space and goals. Whether it's neutral calm vibes or bold colour play, we've got the tools, paints, and know-how to make it easier—and way more fun (promise!).
Happy painting!
Cheers, Candeece

Stay Connected
Follow our Facebook Page: Strathalbyn H Hardware on Facebook


