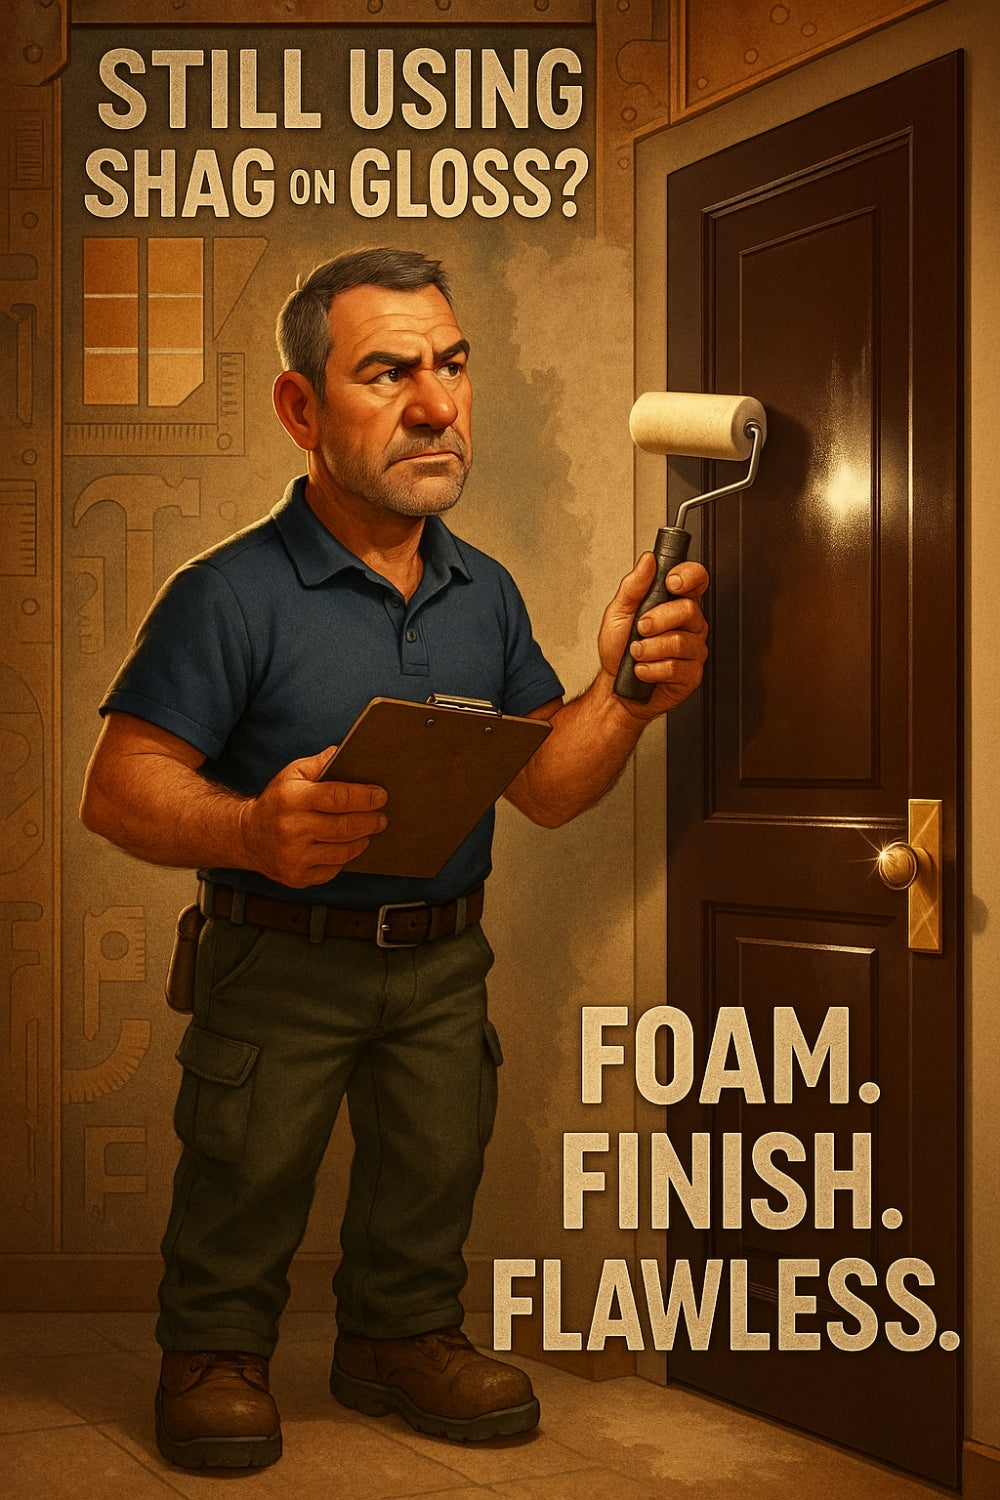
Foam roller finish looking dodgy? Here’s how to get it stunningly smooth, every time.
Share
Smooth Walls, No Streaks—Why a Foam Roller Might Be Your Best Painting Mate
You know that feeling when you stand back from a freshly painted wall and instead of satisfaction… you spot all the streaks? Yeah. That. It’s the kind of moment that makes you want to chuck the roller across the room. But here’s the thing: the culprit often isn’t your technique—it’s the tool.
Foam rollers don’t get enough credit. Not the chunky ones for rough render—those have their place. We’re talking about the smooth, low-nap little legend that delivers that crisp-as-a-new-iron look on doors, cabinets or interior walls. When used right, a foam roller can give you a finish so smooth, you’ll want to Instagram it. Twice. From both angles.
Why Choose a Foam Roller?
Foam rollers are quiet achievers. Their dense structure holds paint evenly and allows for clean, thin coats—no fluff, no fibres, no fuss. Perfect for water-based enamel or interior acrylic jobs where neatness matters. If you’re painting anything with a sheen—semi or full gloss—a foam roller is going to be your best bet for a mark-free result.
“If you want it glassy-smooth, skip the shaggy stuff. Foam’s where it’s at.” —Candeece, in-store paint expert
Let’s Get Rolling — The Right Way
Start With a Proper Setup
Preparation is the love language of great painters. Before a drop of paint hits the wall, make sure you’ve ticked these:
- Sand and clean the surface — any bumps or dust will sabotage the finish.
- Use the right primer — foam rollers love a well-primed surface. It helps the paint grip without dragging.
- Decant into a tray — so you can evenly load the roller without drowning it.
Master the Loading Technique
Dunking the roller all the way in? Rookie move. Instead, dip the foam lightly into the paint, roll it out across the tray ridges, and repeat until the roller is evenly coated but not dripping. Think of it like buttering toast—not too dry, not soaked.
Apply in Thin, Even Coats
Foam rollers are designed for finesse—not speed. Go too thick, and you’ll end up with bubbles or streaks. Here's how to nail it:
- Use a “W” motion — it helps you spread the paint without harsh stops or start lines.
- Go back over with light pressure — this evens things out and pops any sneaky air bubbles.
- Don’t double dip mid-stroke — load between sections, not during them. Keeps the finish consistent.
Let It Dry. Completely.
The first coat might look patchy. It’s okay. Let it dry completely, then go again. Rushing it just lifts the first layer and undoes all your good work. Foam rollers are perfect for building up flawless layers, not smashing it all out in one go.
Steer Clear of These Common Mistakes
Even a good roller won’t save you if you fumble the basics. Watch out for these easy-to-avoid slip-ups:
- Overloading the roller – more paint ≠ better coverage. It usually means drips.
- Too much pressure – pressing harder doesn't give better coverage, it just squashes the foam and creates marks.
- Skipping surface prep – the smoother the base, the smoother the result. Always start clean.
Where Foam Rollers Shine
They’re not the tool for every surface—but for medium to smooth textures? Foam wins. Here’s where they do their best work:
- Kitchen cupboards & internal doors
- Feature walls, trims and skirting boards
- Ceilings (especially if you're using low-sheen or semi-gloss)
- Bathroom walls where enamel topcoats are going on
A Quick Bite from the Past
Back in the old days, walls were done with brushes. Beautiful—sure—but time-consuming and brush-streak city. When foam rollers came into the mix, it shifted how we finished finer projects. One retired painter once told me, "We’d use a foam roller on ornate trims and then feather the edge with a dry brush. Came up like glass." Still holds true.
The Bonus Move: Shaving Your Foam Roller
Wild tip: pros sometimes 'shave' excess bits from the roller’s edges to prevent edge lines. Takes a sharp knife, a steady hand, and the nerve of a poker player—but it works wonders, especially on doors. Just run a test first—or drop in and we'll help you pick one that’s already ready to go.
The Finishing Feel
Done right, a foam-rolled job doesn’t scream “DIY.” It nods at you. Like a quiet, confident handshake. Whether you’re freshening up a space before hitting the market or just want your guest room to stop looking like a before shot—getting that buttery-smooth finish isn't out of reach. It’s hiding in a humble foam roller... and in how you use it.
Happy painting,
Candeece

Stay Connected
Follow our Facebook Page: Strathalbyn H Hardware on Facebook


