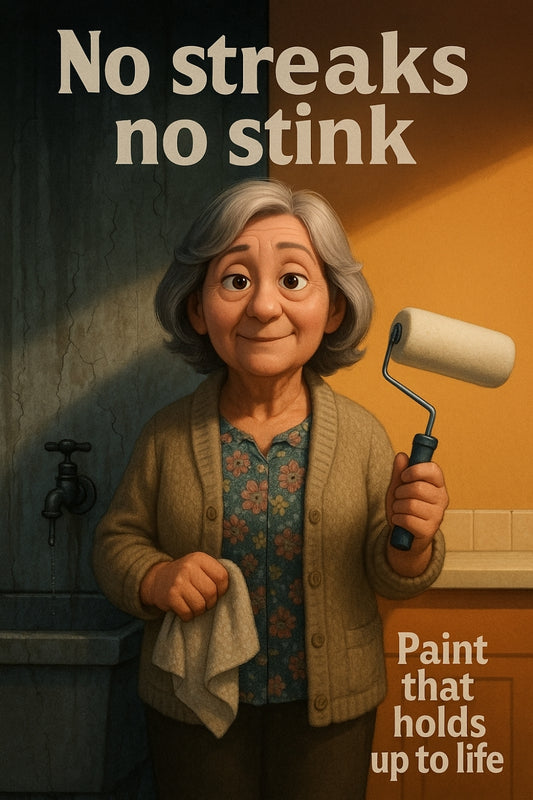
7 mistakes with paint rollers that quietly ruin your walls — and how to fix them
Share
Avoid painting regrets: get your roller right the first time around
Why do some paint jobs look smooth as glass while others go patchy and dry weird?
It's not about fancy tools or having an art degree — it’s about sidestepping the small mistakes that sneak in when using a roller. The kind that leave you with visible lines, uneven colour, and a wall that whispers, "close enough" — when you were aiming for "crisp and clean."
If you’ve ever ended up with a streaky finish or found flakes of fuzz marring your second coat, welcome — you’re wildly normal. These are the kinds of hiccups even seasoned weekend warriors bump into. But here’s the good news: with just a few tweaks to your approach, your DIY paint job can look like you hired a pro (without the invoice).
1. Choosing any old roller? That’s mistake number one.
Rollers aren’t a one-size-fits-all deal. The fluffier the nap (that’s the fuzzy stuff on the roller cover), the more paint it holds — but that doesn’t mean more is better. It means different jobs need different nap lengths.
- Short nap (5-7mm): Great for smooth surfaces like doors and cabinets.
- Medium nap (10-12mm): Ideal for most interior walls and ceilings.
- Long nap (15-19mm): Best for rougher surfaces like render or brick.
Rolling a smooth plaster wall with a shaggy roller is a bit like trying to butter toast with a garden rake. Choose the right nap and your paint will glide on evenly without spraying half your hallway.
2. Skipping prep: small effort now, big regret later
Rollers love to misbehave when the surface underneath is dusty, flaky, or oily. Before cracking open a tin of paint, give your surface a light sand, a good clean (sugar soap works a treat), and check for any patch repairs that might show through.
“The quality of your finish is 90% in the prep. Paint doesn’t hide sins — it highlights them.”
— Candeece from the Paint Desk
3. Forgetting to wash a brand new roller? Hello, fuzz city
This one’s sneaky. Fresh rollers sometimes have loose fibres from manufacturing. Without a quick rinse and shake before use, those tiny bits can end up all over your wall like rogue cat hair.
Give new rollers a wash in warm water (or a spin if they’re synthetic), swirl them out and let them air dry for a few minutes before dipping into your paint. You’ll be surprised how many fuzzies come out.
4. Dipping the whole roller? Easy there, cowboy.
You don't need to drown the thing. Only load about one-third of the roller with paint, then roll it back and forth along your tray’s ridges. This evenly spreads the paint across the nap and stops big thick splats from hitting your wall uninvited.
Too much paint = drips and skid marks. Rolling lightly and layering gradually helps build an even coat while avoiding splatter that ends up in your eyebrows.
5. Rolling dry edges: the timeline trap
This one catches a lot of folks. You do one section, pause for a cuppa, then come back to finish. But that first bit has already dried slightly — and going over it again now causes that dreaded overlapping effect where the finish doesn’t blend.
This is called lap marking, and it shows up clearly under light. The secret is to work in sections and always roll into the wet edge of your previous stroke. Think: corner to corner like you’re mowing a lawn.
6. Back rolling is your best mate — but most skip it
After laying paint on the wall (working from top to bottom), go back over that section with long, light, vertical rolls — top to bottom without reloading the roller — to smooth it all out. This is called back rolling and it evens out the nap marks and redistributes the paint beautifully.
This step is where things go from “yeah, looks fine” to “who painted this?!”
7. One coat wonder? Not if you want staying power
Even top-shelf paints generally need two coats for a strong, lasting colour. Yes, the first layer might look decent, but it’s the second coat that gives you that smooth, even coverage and the richness that matches the colour swatch you fell in love with.
Rushing it now just brings more work later — or a paint job that doesn’t stand the test of time, sun, and grubby little fingerprints.
Let the roller do the work… but guide it with purpose
Painting doesn’t need to be stressful, but it does pay to slow down just a little and be deliberate in your method:
- Start with the ceiling if you're doing the whole room.
- Use ‘W’ or zig-zag patterns to spread the paint, then backroll vertically.
- Keep a wet edge.
- Don’t fight the roller — roll with light pressure and only reload when needed.
Painting with rollers isn’t about being perfect — it’s about being mindful
No one’s judging your wall with a magnifying glass. But if you care about how it turns out — and you’ve set aside the weekend to really do a room justice — then it’s worth getting these simple things right. A little learning now saves repainting later.
And here’s the best part: every time you do it, you’ll get better. Your clean lines will get crisper, your hands more confident, and your roller marks fewer and further between. It’s not about expert results — it’s about earned results. One thoughtful roll at a time.
Happy painting,
— Candeece

Stay Connected
Follow our Facebook Page: Strathalbyn H Hardware on Facebook


