Want to try distilling? Here’s the foolproof plan to master your first batch
Want to Try Distilling? Here’s the Foolproof Plan to Master Your First Batch
Ever had that moment when you take a sip of a drink and think, "I could make this better myself"? If you're a fan of craft spirits, then distilling at home might just be your next great obsession. The thought of crafting your own signature drop is tempting, isn't it? The good news is, getting started doesn’t have to be complicated. With the right equipment and a bit of know-how, you’ll be bottling up something special in no time.
Why Give Distilling a Go?
Picture this: A quiet weekend afternoon, a glass in hand, and the satisfaction of knowing that the smooth, flavourful spirit you’re sipping came from your own setup. Distilling is more than a hobby—it’s the chance to create something unique, something completely yours. Whether you’re aiming for a crisp gin, a bold whisky, or a smooth rum, home distilling adds a personal touch no store-bought bottle can offer.
The Must-Have Gear for Your First Distillation
Before you dive into your first batch, you’ll need the right tools. Nothing fancy, just the essentials to get started:
- A Quality Still: The heart of the operation. A good still ensures you get purity and control over the end product.
- Fermenter: Where the magic begins. This is where your base ingredients break down and start turning into alcohol.
- Hydrometer: Your best mate for testing alcohol content, making sure your brew is on point.
- Heating Source: Controls temperature during distillation. Whether it's a gas burner or an electric element, consistency is key.
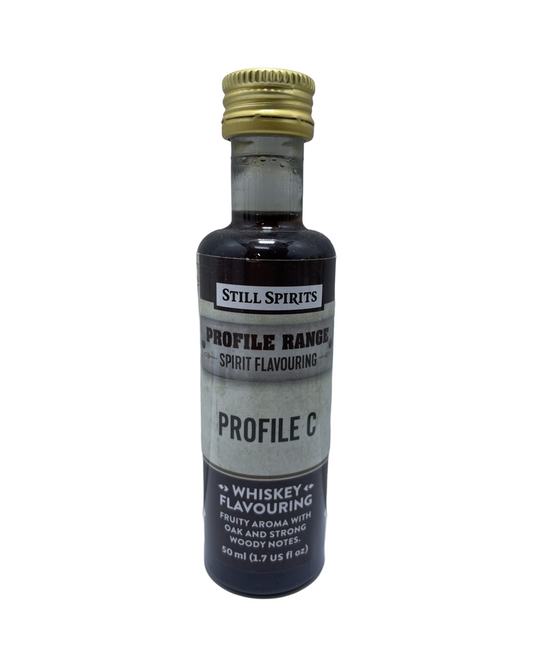
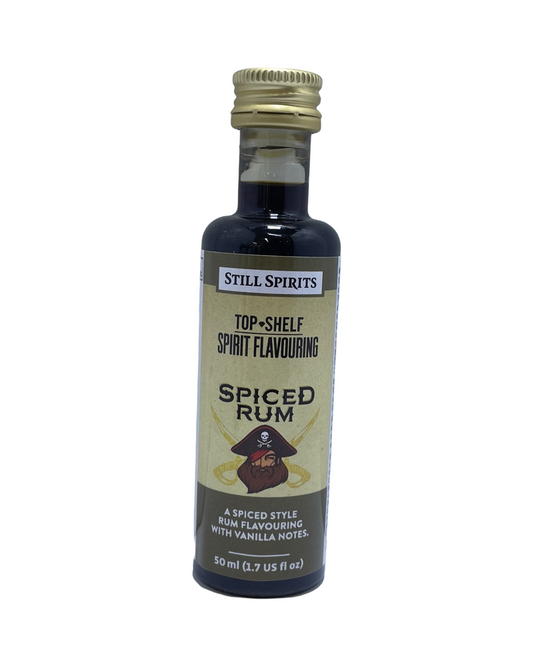
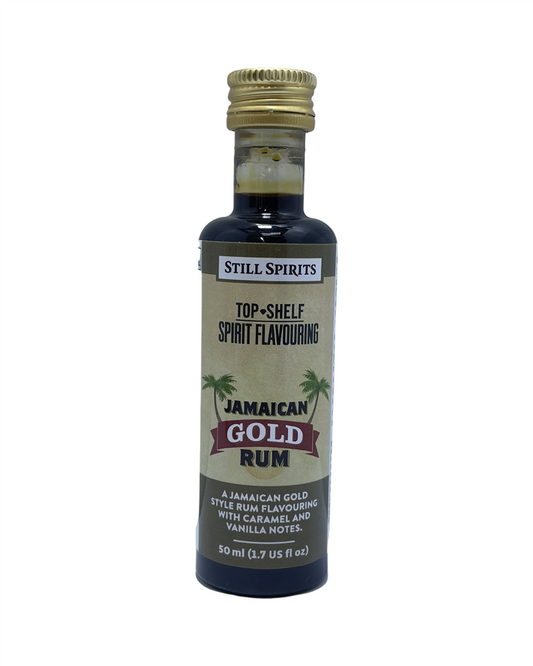
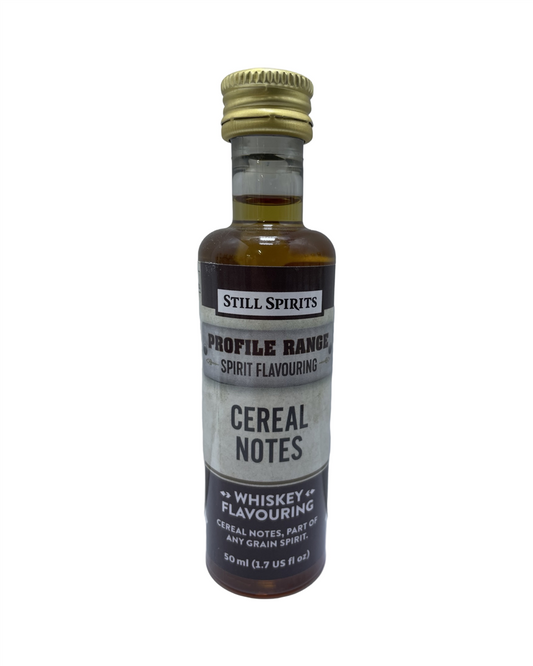
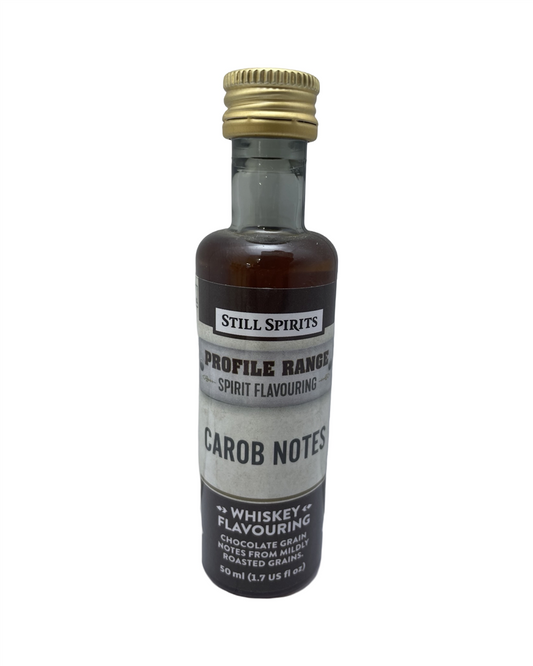
- Essences and Flavouring: Perfect for those looking to craft a top-notch spirit without years of aging.
If this seems like a lot, don’t stress. Beginner distilling kits make things simple by bundling everything you need into one package.
The Step-by-Step Plan for a Successful First Distillation
Let’s break it down into a straight-forward process you can follow:
1. Choose Your Base
Spirits start with a simple sugar, fruit, or grain fermentation. Decide what flavours appeal to you—are you after the depth of a whiskey or the crispness of a vodka? Molasses for rum? The choice is yours.
2. Ferment Your Mash
This is where yeast works its magic, converting sugars into alcohol. Follow your recipe closely—temperature and patience make all the difference. A few days to a couple of weeks later, your mash will be ready.
3. Fire Up the Still
Now for the exciting part! Slowly heat your fermented mash in the still. Alcohol evaporates before water, and with precise temperature control, you can separate and collect the purest portion. The first bit of liquid that comes through—called the "foreshots"—should be discarded, as it contains undesirable compounds. Then comes the "hearts," the good stuff that you’ll want to keep.
4. Adjust and Cut
The art of distilling is knowing when to "cut" the bad from the good. The "tails" can introduce unwanted flavours, so most distillers separate these from the batch. What you’re left with are clean, smooth spirits.
5. Flavour, Age, or Enjoy
Some spirits, like gin and flavoured vodkas, are ready to drink immediately after distillation. Others, like whiskey or rum, benefit from aging in oak barrels or with added wood chips to develop character. Experiment with botanicals, essences, and different ageing methods to refine your personal style.
Common Mistakes (and How to Dodge Them)
Every new distiller makes a few mistakes along the way, but here are some easy ones to avoid:
- Skipping Cleaning: Residue from previous batches can mess with flavours. Keep everything spotless before and after use.
- Rushing Fermentation: Good things take time. Let the process happen properly before distilling.
- Ignoring Temperature Control: Too hot or too cold can ruin the batch. Keep a steady hand on your heat source.
- Keeping Everything: Not all parts of the distillation run are worth bottling. Be selective with your cuts.
Ready to Start? Get the Right Gear
Feeling inspired? Starting off on the right foot means having the correct setup. At Strathalbyn H Hardware, we’ve got everything you need, from beginner-friendly kits to expert-level setups. Our team is happy to guide you through the process, ensuring you have everything to make your distilling journey a smooth one.
There’s nothing quite like pouring a glass of a spirit you crafted yourself. It’s more than just a drink—it’s a story in a bottle. So, why not give it a go?
Cheers to your first batch!
Candeece

Stay Connected
Join our homebrewing community: Beer and Barrel Society on Facebook
Follow our Facebook Page: Strathalbyn H Hardware on Facebook