The Do’s and Don’ts of Home Distilling for Beginners
The Do’s and Don’ts of Home Distilling for Beginners
There’s something deeply satisfying about crafting your own spirits at home. It’s part science, part artistry, and—let’s be honest—a great way to impress your mates at your next BBQ. But stepping into home distilling doesn’t come without its fair share of challenges. It’s a craft that requires patience, precision, and—most importantly—a solid understanding of what to do (and what to avoid) to get the best results.
So, if you’re new to the world of home distilling, let’s set you up for success. Here’s a friendly guide to help you avoid common pitfalls and make sure your first steps are in the right direction.
Do: Start with the Right Equipment
A quality result starts with quality equipment. At a bare minimum, you’ll need a still, a fermentation vessel, an airlock, and a hydrometer. Investing in reliable gear from the outset makes things easier, ensures safety, and gives you better-tasting spirits. Cheap knock-offs? They’ll only lead to headaches—literally and figuratively.
Don’t: Cut Corners on Ingredients
Your spirit is only as good as what you put into it. Use high-quality yeast, clean water, and the right sugar or grain for your recipe. Trying to save a few bucks by using cheap ingredients will come back to haunt you when you take that first sip and wonder why it tastes like disappointment.
Do: Pay Attention to Fermentation
The fermentation process is where all the magic happens, and patience is your best friend. Rushing it or ignoring temperature control can lead to off-flavours that no amount of distilling can fix. A steady, controlled fermentation means a cleaner, smoother spirit.
Don’t: Ignore Cleaning and Sanitising
One of the biggest mistakes beginners make is failing to properly clean and sanitise their equipment. Any lingering bacteria or residue can ruin an entire batch, leaving you with an undrinkable mess rather than that smooth gin or whisky you were hoping for. Cleanliness isn’t just a suggestion—it’s a must.
Do: Learn the Art of Cuts and Fractions
If there’s one thing that separates a great home distiller from a beginner, it’s knowing how to make proper cuts. Methanol, heads, hearts, and tails—these terms might seem overwhelming at first, but they’re the key to producing a spirit you’ll actually want to drink. Learning how to separate the good from the bad ensures a cleaner, more enjoyable result.
Don’t: Drink the First Output (For Safety’s Sake!)
The first portion that comes out of your still, known as the foreshots, contains methanol and other nasty elements that can be harmful. Always discard the first 50–100 ml of liquid to ensure you’re left with only the safest and best-quality spirit.
Do: Experiment and Have Fun
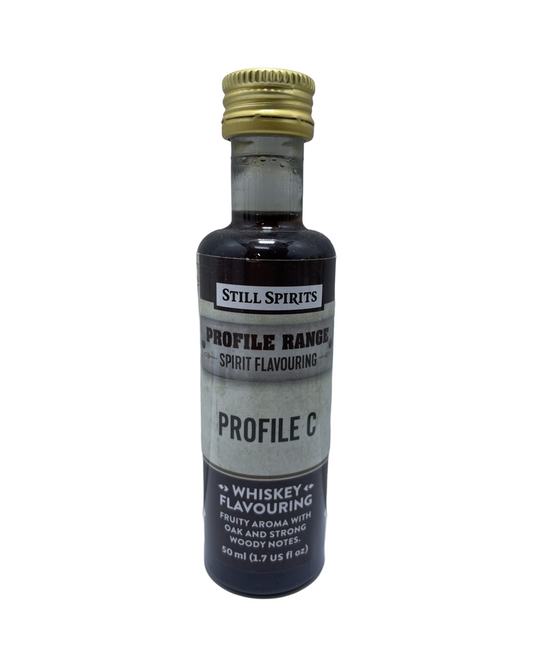
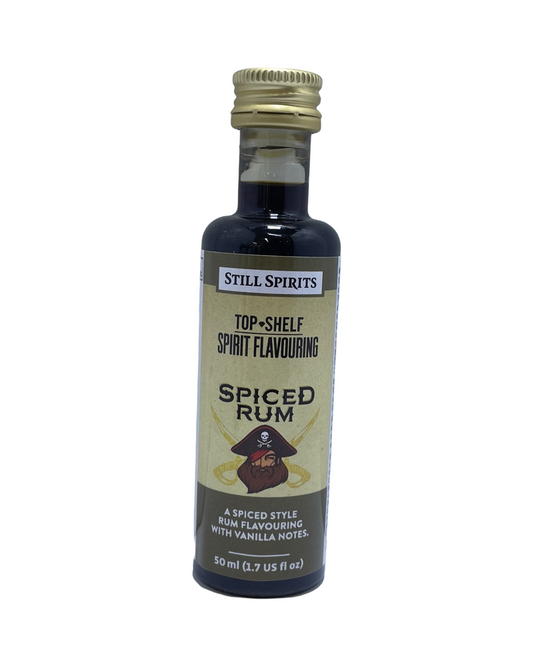
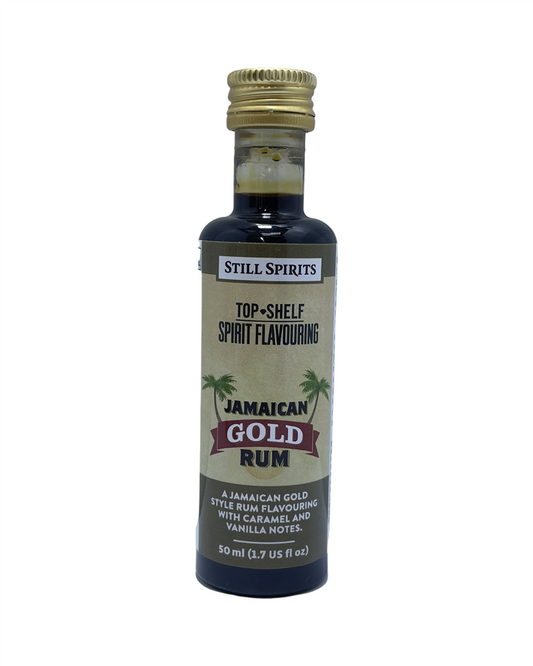
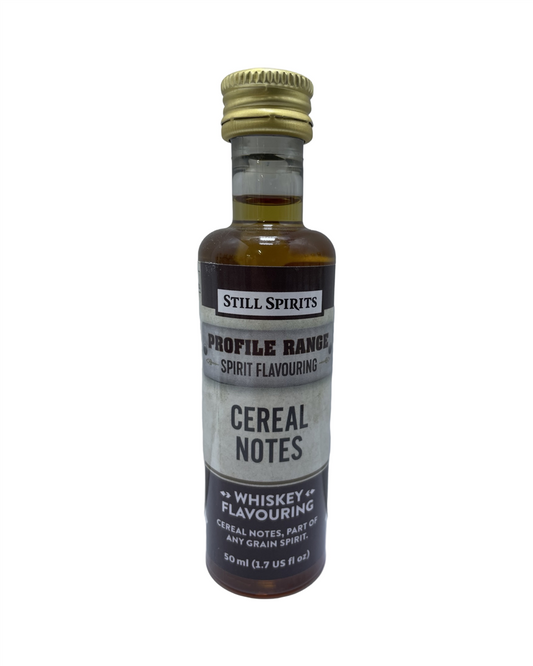
Home distilling is as much about creativity as it is precision. Once you’ve successfully nailed the basics, don’t be afraid to experiment with different ingredients, infusions, or barrel-aging techniques. Developing your own unique flavour profile is where the real fun begins.
Don’t: Forget It’s a Learning Process
Every great distiller started somewhere, and mistakes are part of the journey. Whether it's a less-than-perfect batch or a mishap with temperatures, take it as a lesson rather than a failure. Keep refining your methods, and soon enough, you’ll be crafting spirits you’ll be proud to share.
Ready to Get Started?
Home distilling is a rewarding and enjoyable hobby, but getting it right from the start makes all the difference. Looking for quality distilling equipment, expert advice, and everything in between? Strathalbyn H Hardware has you covered.
Here’s to your first (successful) homemade batch—cheers! 🥃

Stay Connected
Join our homebrewing community: Beer and Barrel Society on Facebook
Follow our Facebook Page: Strathalbyn H Hardware on Facebook