Still Spirits users are turning shed time into smooth sips — not knowing how’s the risk.
From Backyard Shed to Top-Shelf Quality: Distilling Spirits at Home Isn’t Just for the Pros
Primary Keyword: distil spirits at home
Complementary Keywords: home distilling, spirit stills, home alcohol making
Used to be a mystery wrapped in copper coils — now, homemade spirits are cleaner, smoother, and more satisfying than ever before. With the right gear and good guidance, making bottles worth bragging about is closer than it's ever been.
Is Distilling at Home Even Legal?
Let’s tackle the elephant in the bottle before we go any further. In Australia, it is legal to own a still under 5L without a license — but creating spirits for consumption is not permitted unless you have the right license from the ATO. That said, many home distillers use their gear for distilling water, essential oils, or simply as a learning tool — and we always recommend following the law to the letter. Know the rules in your area, play within them, and make sure any advice you take is from a trusted, knowledgeable source.
What You Really Need to Get Started
No, you don’t need a laboratory or a degree in chemistry.
You do need:
- A quality still – Reflux stills are popular for neutral spirits. Condenser style matters for yield and flavour.
- Fermentation gear – A fermenter, airlock, and hydrometer are your best mates here.
- Turbo yeast and sugar – The right combo matters more than you’d think. Bad yeast = funky taste.
- Filtering and polishing tools – Carbon filtration boosts clarity and smoothness in ways most folks underestimate.
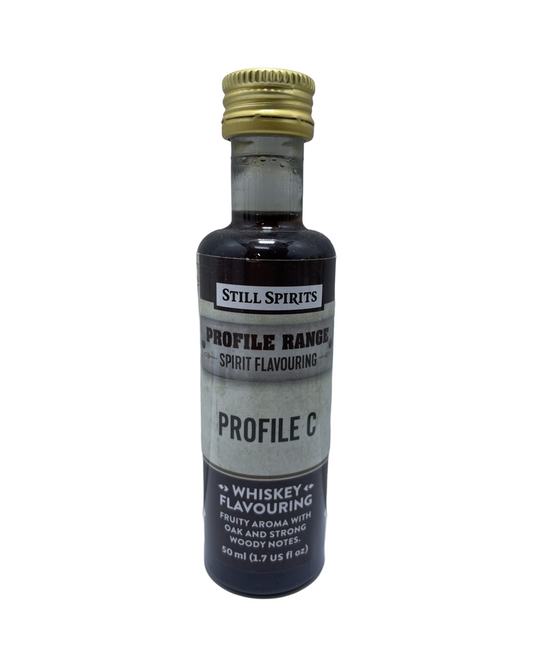
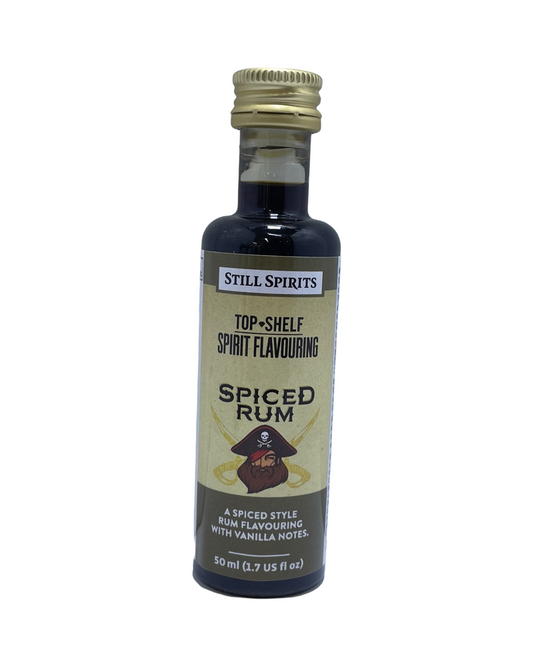
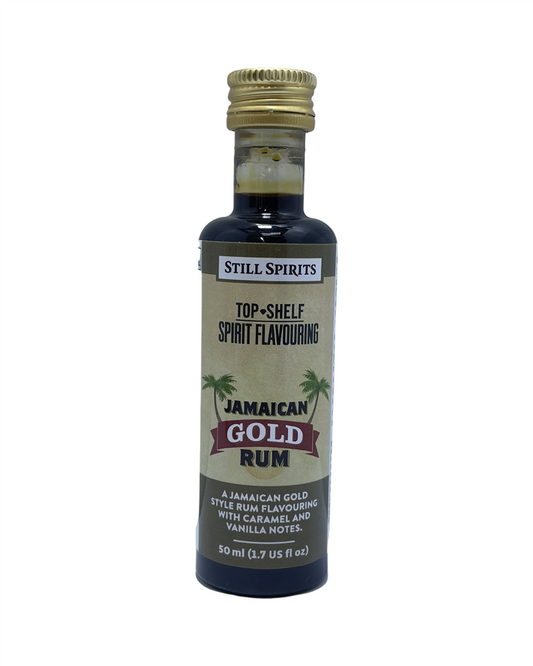
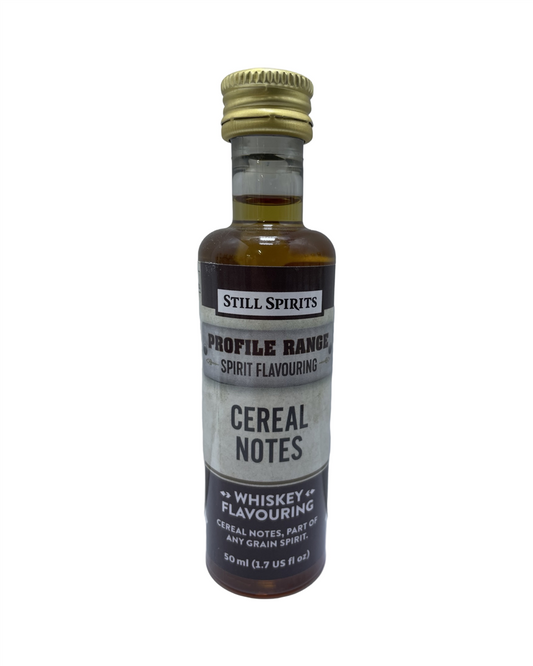
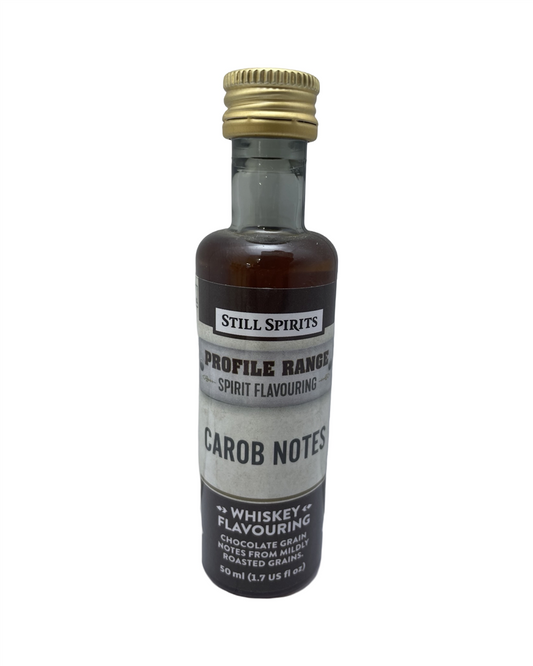
- Essences and flavourings – Whether you're after spiced rum, smooth bourbon, or fruit liqueurs, the final touch makes the memory.
The Flavour Wins Are in the Ferment
Here’s where most backyard distillers short-change themselves. It’s in the fermentation. If your wash smells like a wet sock, no amount of distilling is going to save you.
“Clean wash in, clean spirit out. The still doesn’t fix sins — it magnifies them.” — Head Brew Coach at Strath H Hardware
Ferment at steady temperatures (20–25°C is the comfort zone), keep it well sanitised, and be patient. A rushed wash is like undercooked meat — technically done, but no one wants it.
How to Actually Distil Spirits at Home (The Clean Way)
Let’s walk the basics, start to finish.
1. Prepare Your Wash
Mix sugar and warm water, pitch turbo yeast, and let it bubble away peacefully in a sealed vessel with an airlock. Give it 5–7 days. When the bubbling stops, test using a hydrometer. If you’re below 1.000, it’s ready to go.
2. Clean Everything
Yes, every single thing. Contamination is the fastest path to off-flavour city. Use gear-specific cleaner and rinse properly.
3. Run the Still
Follow your still's instructions carefully. Heat your wash slowly, collect in small fractions and label them. Discard the foreshots (the nasty stuff that comes out first — often the first 50–100ml). That’s where the harshest alcohols and impurities live.
4. Cut Like a Chef
From there, taste and smell the heads, hearts, and tails. The best drinking spirit is in the heart cut — that clean, sweet spot between harsh and heavy. It’s easy to miss if you’re rushing.
5. Filter, Rest, and Flavour
Use an activated carbon filter (gravity-fed or pressure-based) to smooth the spirit, then rest it at least a few days. Some go longer for better results. Then add your chosen essence and bottle it like a pro.
Essential Tips Most Beginners Miss
- Always label your cuts. The nose can pick up what your mouth won’t notice until it’s too late.
- Temperature control matters more than wattage. Don’t blast the heat — gentle is cleaner.
- Use a copper condenser or copper packing to strip out sulphurs. Your tastebuds will thank you.
Real Story From the Shed
One bloke swore his first batch tasted like petrol. Turned out, he didn’t toss out the foreshots, stuffed four types of sugar in the wash, and used tap water straight from a rusty tank. Next batch? He stuck to clean white sugar, filtered rainwater, and leaned on the shop tip sheet he picked up last-minute. The final product? Smooth, clean, and poured proudly around his firepit — with none of the raised eyebrows from last time.
What It Means to Make Your Own Spirits
There’s something deeply satisfying about pouring a splash of something you made, running your fingers along the bottle and thinking, “Yeah, that came from my setup.” Spirit-making isn’t about getting boozed up. It’s about process, precision, and pride — a sort of quiet mastery that shows up in every sip.
It’s not always perfect, but it’s always yours. And that’s the kind of flavour that money can’t bottle.
Until next time — happy brewing,
Candeece

Stay Connected
Join our homebrewing community: Beer and Barrel Society on Facebook
Follow our Facebook Page: Strathalbyn H Hardware on Facebook