Still Spirits nailed it—so can you. Want distilling to feel easy, not risky?
Start Distilling with Confidence: A Beginner's Guide to Nailing Your First Batch
If you’ve ever held a bottle of Still Spirits Gin Kit and thought, “Could I actually do this?” — you’re in good company. Distilling isn’t some mystical art reserved for silver-bearded gents in the backwoods. It’s a hands-on, satisfying process that’s well within reach — if you’ve got the right plan.
First batch jitters are normal. But you can absolutely make a clean, impressive spirit your very first time out.
Before: Confused and over-researching.
After: Smooth batch bottled on your shelf, ready to pour.
This isn’t theory — we’ve watched first-timers go from "Where do I even start?" to handing mates a bottle of homemade rum that gets nods all around. It doesn’t take a chemistry degree, just good gear and a clean process.
Start Small, Start Smart: Choose the Right Distilling Kit
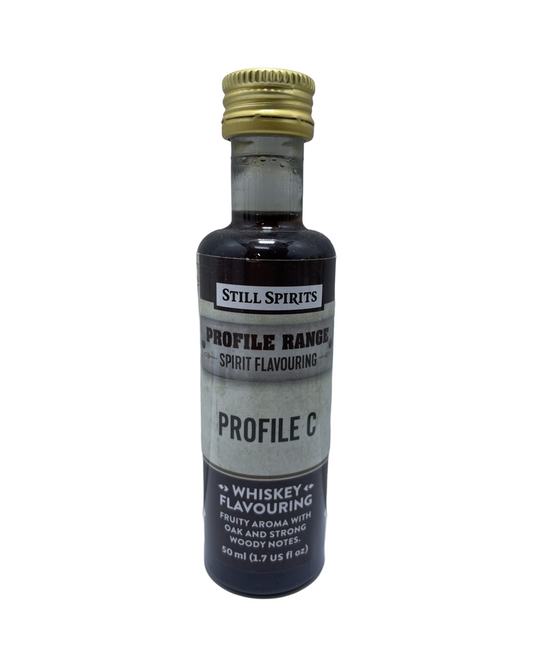
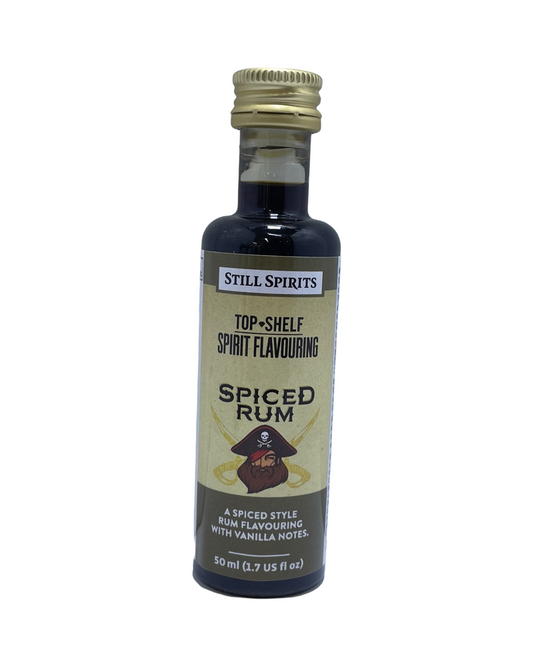
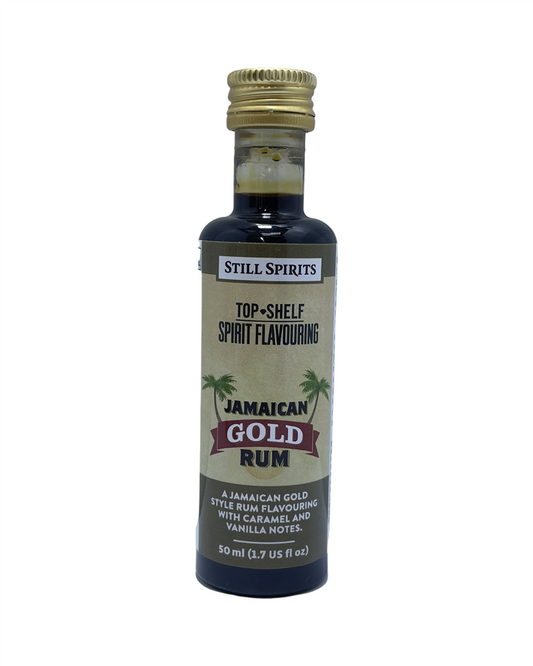
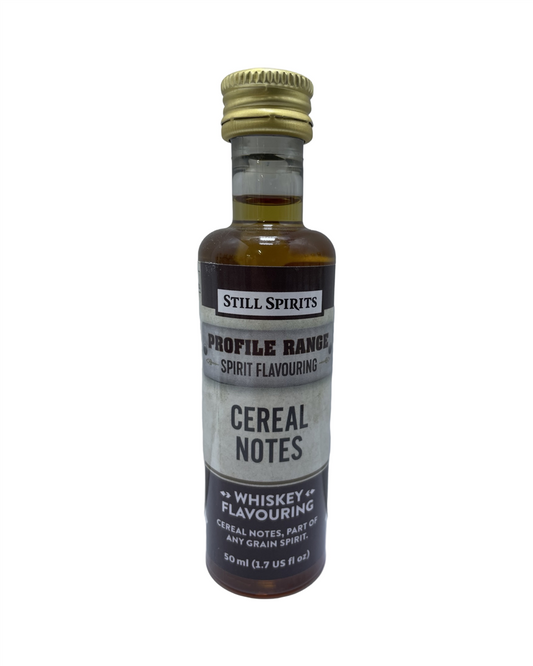
Here’s where most new distillers trip up — they buy a fancy set-up, then stare at it like it might bite. The sweet spot? A small still with clear instructions (air still or reflux are both solid picks), plus a compatible starter essence kit for your preferred spirit — something like bourbon, gin or spiced rum.
The goal of your first batch is clarity, not complexity. You're learning the method, not trying to reinvent Hendrix’s gin formula.
Get Your Gear Set, and Don’t Skip This Step
Distilling is as tight as any shed project with a live wire — it rewards hands-on patience and proper prep. Here’s your no-fuss checklist:
- Still: Clean, assembled, no leaks
- Wash: Fermented out and cleared — cloudy wash = cloudy spirit
- Filter: Carbon filtering is your best friend for first-timers
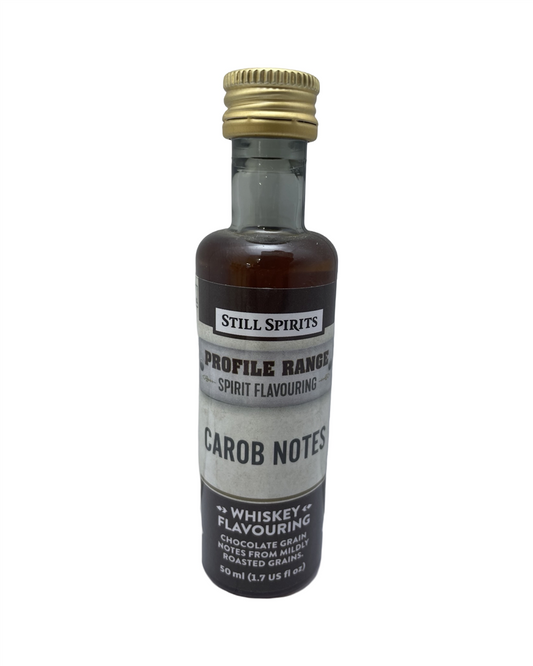
- Essence: Easy-to-use flavouring kits that match the wash type
Want it cleaner, quicker? Let your wash finish properly and use a clearing agent. It’s the difference between sharp and smooth.
The Moment of Truth: Your First Run
Your still will hum along quietly… until the first drip hits the collection jar. That’s magic in motion. You’ll be tempted to twist every dial and get fancy. Don’t.
Let it run at steady temperature. Keep notes. Catch the heads (the nasty early stuff — dispose of them safely), then hold onto the heart of the run. This is your good juice.
It won’t smell like top-shelf whisky yet. That comes after filtering and flavouring — so don’t judge the whole book by its first chapter.
Dry, Filter, Rest. Then Flavour Like a Pro
Let the spirit rest overnight so those sharper notes mellow out. Run it through activated carbon if your kit calls for it — especially if you want that ultra-clean vodka base to flavour up later.
When you add your essence, follow the guide — but don’t be afraid to tweak over time. Want it oakier? Drop in a spirit-soaked wood chip. Keen for citrus punch? Try a lemon peel infusion.
Pro tip:
Label your bottle. Why? Not just for looks — but so in 3 weeks when you sip it with your mate, you can say “Yep, that’s the Batch #1 spiced rum. Smooth, eh?”
Turns Out — The Gear’s the Easy Bit
The biggest shift isn’t the still sitting in your shed. It’s between your ears.
You go from thinking "Can I pull this off?" to “I made this.”
Distilling flips a switch. You start tasting things differently. Noticing notes, thinking process, measuring improvements. Suddenly, a bottle isn’t just booze — it’s your recipe, your craft, your signature.
If You’re Waiting for Perfect — You'll Wait Forever
Plenty of backyard brewers spend months obsessing over gear lists and YouTube rabbit holes and never pour a drop. Know what breaks the cycle?
One batch. One run. One drink you made yourself.
Then the shed becomes your distillery — and every bottle tells your story.
Cheers to small starts, smoother spirits, and bold moves in the brew shed!
– Candeece

Stay Connected
Join our homebrewing community: Beer and Barrel Society on Facebook
Follow our Facebook Page: Strathalbyn H Hardware on Facebook