How to Make Perfect Moonshine: A Beginner’s Step-by-Step Guide
How to Make Perfect Moonshine: A Beginner’s Step-by-Step Guide
There’s something a little magical about making your own spirits. It’s equal parts science, art, and a pinch of rebellious tradition. If you’ve ever thought about crafting your own moonshine, you’re in for an adventure. But before we dive in, let’s clear something up—distilling alcohol at home without the proper licences is illegal in many places, so be sure to check the regulations.
Now, if you’re ready to roll up your sleeves and step into the world of home distilling, let’s break it down into easy-to-follow steps. No fluff, no endless theory—just practical know-how to get you going.
What You’ll Need
Before you do anything, gather your materials. A well-prepped brewer is a successful one (and avoids unnecessary headaches).
- A high-quality still: This is non-negotiable. A copper or stainless-steel still will do the job nicely.
- Fermenter: A food-grade plastic or glass fermenter with an airlock.
- Hydrometer: Helps measure alcohol content.
- Ingredients: Sugar, water, and yeast are the base. Optionally, you can add cornmeal or malted grains for richer flavours.
- Heat source: A gas burner or electric element designed for distilling.
- Thermometer: Precision is your best friend in distilling.
Step 1: Mash Preparation
The mash is the foundation of your moonshine. It’s where your sugar (or grains) and water get together to create the perfect environment for fermentation.
- Heat water in a large pot (around 25 litres should do).
- Add sugar (or grains) and stir until dissolved.
- Cool the mixture to around 30°C before adding yeast.
- Pour your mash into the fermenter, secure the airlock, and let it work its magic.
Fermentation can take a few days to a couple of weeks, depending on the temperature and yeast you use.
Step 2: Fermenting
Now comes the waiting game. Store your fermenter in a warm, stable environment (ideally between 18-24°C). Yeast is a living organism—it thrives in the right conditions and sulks if it’s too cold or too hot.
Over time, the yeast will convert sugars into alcohol. You’ll notice bubbling in the airlock as this process happens. Once it stops, fermentation is done, and your mash is ready for distillation.
Step 3: Distillation
Distilling is where the magic unfolds, but it’s also the part where you need to be the most careful. Safety first—ensure your setup is in a ventilated area with no open flames nearby.
- Pour the fermented mash into the still (being careful not to include any solids).
- Heat gradually—different alcohols evaporate at different temperatures.
- Separate the alcohols—discard the first 50-100mL (known as the "foreshots") since it contains harmful methanol.
- Collect the “hearts” (the good stuff) and leave the “tails” (lower-quality alcohol).
Your moonshine should be clear and smooth. Cloudiness can indicate impurities, which means a second distillation might be needed.
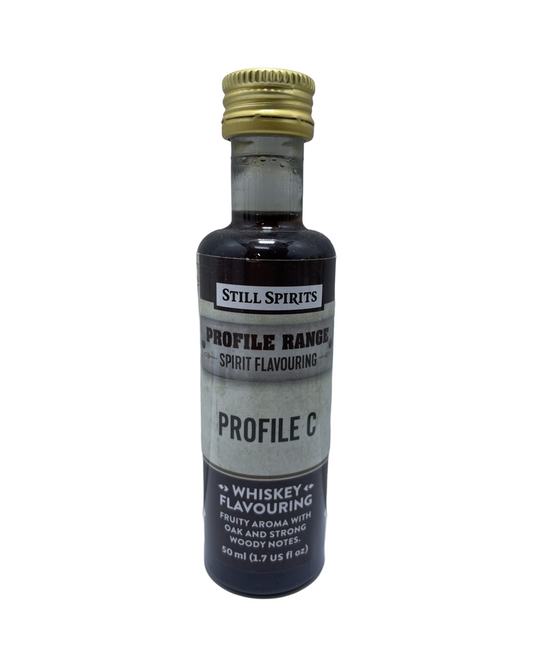
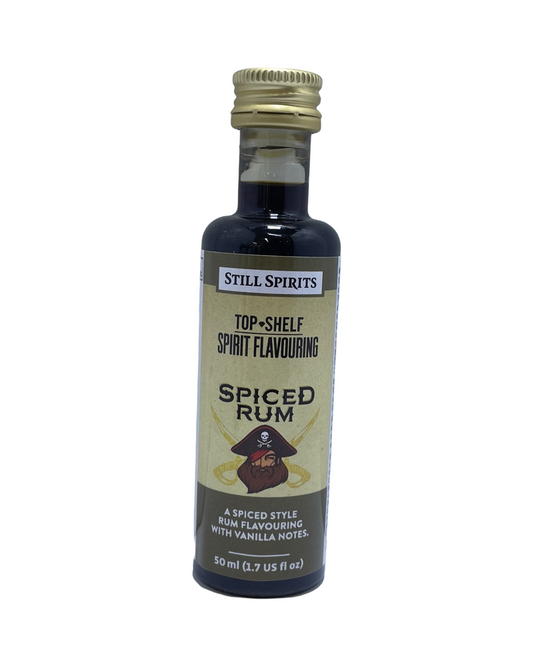
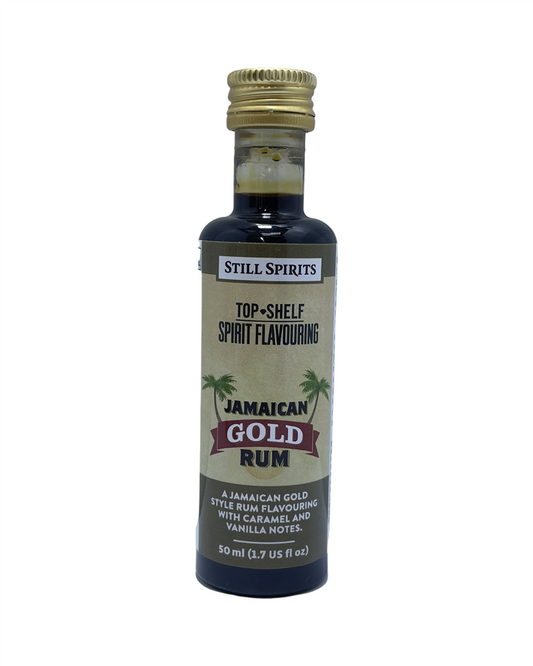
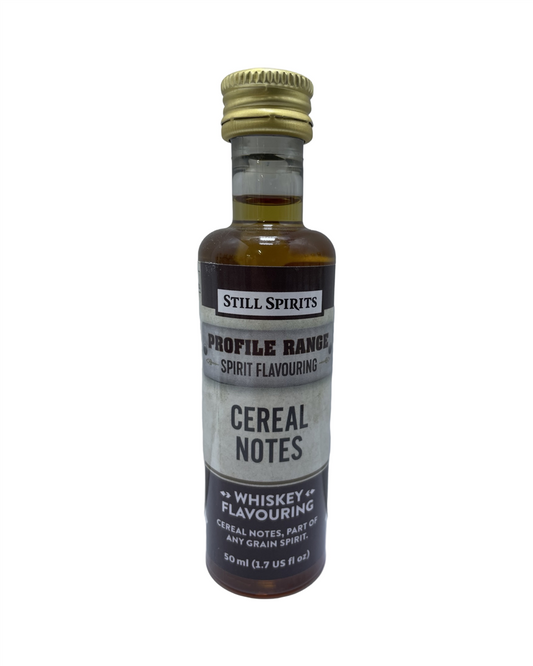
Step 4: Aging and Flavouring
If you’re after a classic, raw moonshine experience, you can enjoy it straight away. But if you want to experiment with deeper flavours, consider aging it with oak chips or adding fruit infusions.
- For a smooth finish, charcoal filtering can help refine the taste.
- Experiment with spices or vanilla for a personalised twist.
- Store in glass containers—plastic can leech unwanted flavours.
Common Mistakes and How to Avoid Them
- Rushing Fermentation: Give your yeast time. A rushed fermentation can lead to weak alcohol and off flavours.
- Poor Temperature Control: Heat too fast, and you get the wrong compounds. Keep it steady and controlled.
- Not Discarding Foreshots: Methanol is dangerous. Always remove the first portion of alcohol during distillation.
- Using Low-Quality Equipment: A cheap still can make all the difference between smooth and horrid-tasting moonshine.
Is Moonshine Worth It?
If you love the hands-on process of making something unique, absolutely. There’s satisfaction in crafting your own spirits, experimenting with flavours, and sharing the results with friends. Plus, you’ll gain a deeper appreciation for how your favourite drinks are made.
Final Thoughts
Home brewing opens up a world of possibilities. Whether you're taking your first steps into spirits or refining your craft, the key lies in patience, precision, and a healthy respect for the process. If you're looking for quality equipment, expert advice, or the right ingredients, check out Strathalbyn H Hardware’s homebrew section. They’ve got everything you need to get started.
Let’s raise a glass to the fun of home brewing—cheers! 🍻

Stay Connected
Join our homebrewing community: Beer and Barrel Society on Facebook
Follow our Facebook Page: Strathalbyn H Hardware on Facebook