Glencairn drinkers know quality—but could your spirit hold up under real scrutiny?
Subheadline: How to custom-blend flavour profiles and elevate your shed-made spirits with confidence.
Primary keyword: homemade spirits
Complementary keywords: custom spirit flavouring, best spirit essences, home distilling flavour tips
Whisky lovers swear by Glencairn glasses—but what if your spirit’s not worthy of the pour?
You're not just making alcohol—you’re crafting something with your name on it. That first sip either says “bottled brilliance”… or “better luck next batch.” And deep down, there’s always that niggling itch—how do I take this from decent to dead-set delicious?
Here’s the real kicker: customising flavour doesn’t mean you need a chemistry degree or a $10K lab setup. One bloke swapped out the essence in his usual bourbon kit, layered in toasted oak chips, and let it mellow for 14 days. Same process. Same gear. Completely different spirit—smoother, richer, unforgettable.
Step 1: Choose Your Spirit Base Wisely
Whether you're running a reflux still or using a sugar wash base, what you start with shapes everything that follows. A clean, neutral spirit (like well-filtered vodka) gives you full reign to manipulate flavour, while a malt-based or grain-heavy wash adds depth you need to balance carefully.
Tip: Use premium-grade yeasts and run carbon filters post-distillation to remove off-notes. Think of it as starting with a blank canvas instead of a smudged one.
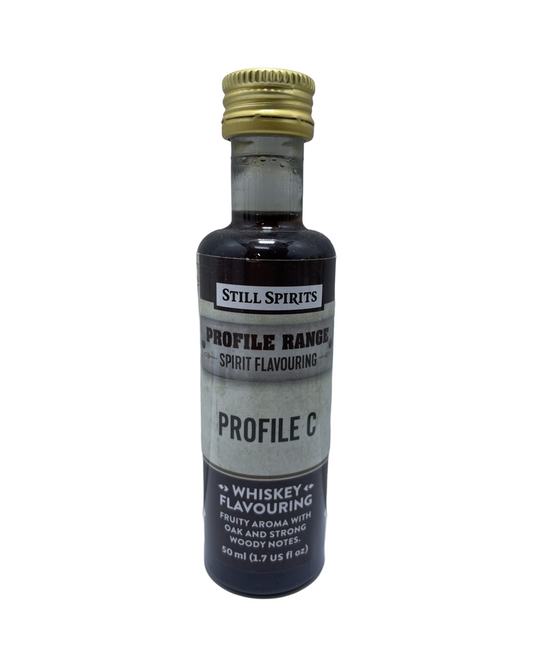
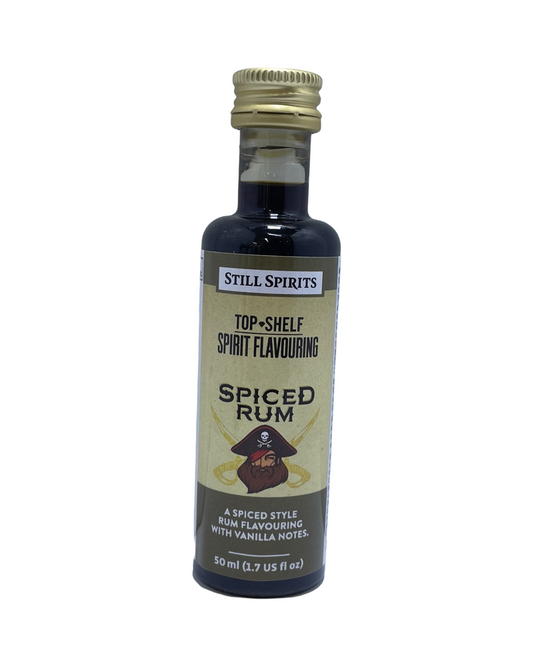
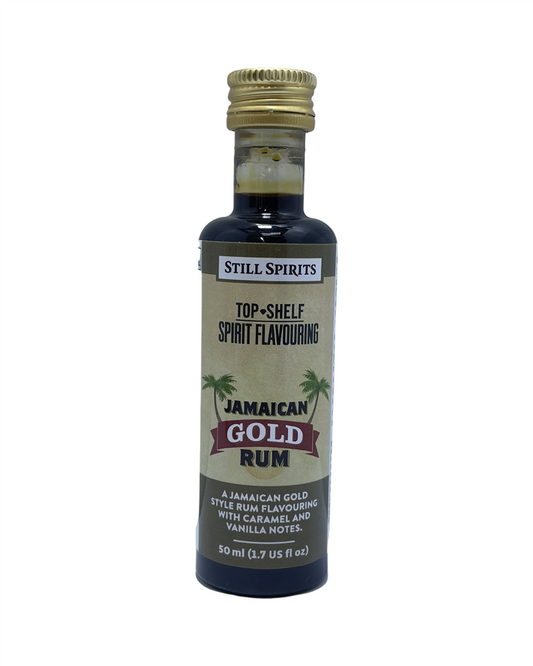
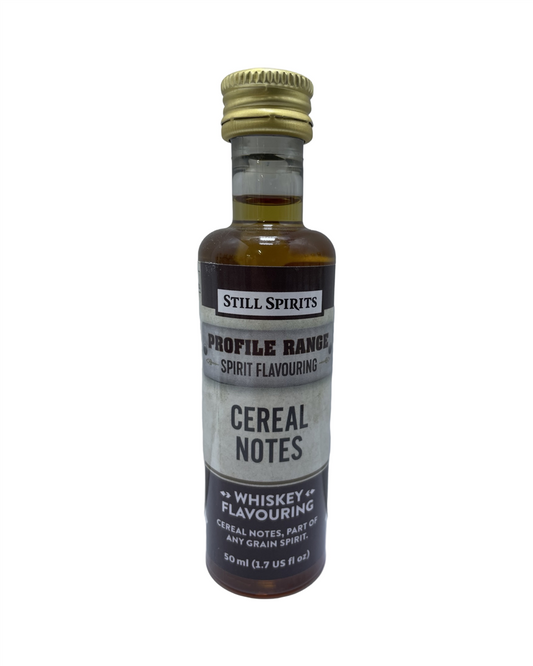
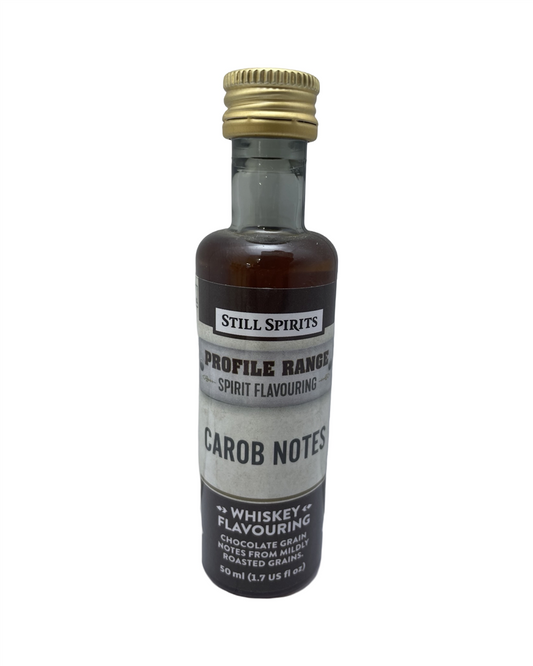
Step 2: Use Essences—but Don't Follow the Label Blindly
Not all spirit essences are created equal. Some give you straight-up cola in a rum bottle. Others? Pure gold. Trusted brands like Edwards distil their flavours from real botanicals, which play well with natural sugars or oak. But the label dosage? That’s just a starting point.
- Try 90% of the suggested amount, then taste and adjust as needed with micro additions.
- Blend different essence types—like a bourbon with a splash of Tennessee Whiskey—to create your own signature.
- Let it sit for 3–5 days before judging the flavour. It takes time to settle and bind.
Step 3: Ageing Isn’t Just for Experts
You don’t need an oak barrel (though if you’ve got one, legends to you). Most home distillers rely on toasted oak blocks, spirals, or chips—and the results can be mighty fine.
Play with the level of char. Lighter toast brings out vanillas and coconut; medium char leans into spice and caramel; heavy char throws smoke and coffee into the mix. Start small—2 to 4 grams per litre—and go slow. Taste every few days. When it’s magic, strain and bottle.
Step 4: Sweetness, Spice, and Everything Precise
Level up your finish with subtle tweaks:
- Sugar syrup: Adds mouthfeel and rounds out harsh ethanol notes.
- Glycerine: Used in a few drops, it smooths your spirit without affecting flavour intensity.
- Herbs and botanicals: Infuse for 24–48 hours for a layered depth—think citrus peel in gin or cinnamon sticks in spiced rum.
Go easy when layering multiple elements. Test in mini batches (200–300ml) before scaling a flavour tweak across the whole bottle. One overzealous twist can turn smooth brilliance into cough syrup real quick.
Step 5: Name It and Pour With Pride
Part of the charm in home distilling is the story behind the bottle. Did you smoke the chips yourself? Get that essence blend just right after six goes? It all matters when you're handing over a glass to a mate at firepit Friday.
Write it down. Take notes. Keep a simple brew log with spirit type, tweaks, taste notes, and what you'd do differently next time. Over time, you’ll build your own shelf of greatest hits—and maybe even bottle labels with a bit of cheek.
Real talk: The best home spirits aren’t made by following a template. They’re made by following your instincts and tweaking the variables until something brilliant slips out of that still and into your glass.
What If It Flops?
It happens to all of us. Maybe the clove sat too long, or the rum turned funky in the heat. Don’t bin it. Blend it. Mix a harsh batch with a smoother one. Tame sharp flavours with a touch of caramel or aged oak. The beauty of spirit-making? You’re the judge, jury, and genius behind the glass.
Pro Tips from the Shed
- Temperature keeps taste on track – Spirits left in sweltering sheds can get feisty. Store your infusion jars in a cool decent-temp spot (inside cupboards are better than garages come December).
- Use glass, not plastic – Especially during the ageing or flavouring stage. Cheaper containers can affect purity and smell.
- Let it breathe – Even after you bottle it. Air integration mellows out harsh edges. A week in the bottle sometimes makes all the difference.
The Mic-Drop
Here’s the truth most folks overlook: The finest spirits aren’t made in one attempt. They’re shaped over sessions, refined through choices, and made unforgettable with tweaks only you would think of. That's how you turn a home-still hobby into something worth toasting.
Cheers to doing it your way—one drop at a time.
– Candeece

Stay Connected
Join our homebrewing community: Beer and Barrel Society on Facebook
Follow our Facebook Page: Strathalbyn H Hardware on Facebook