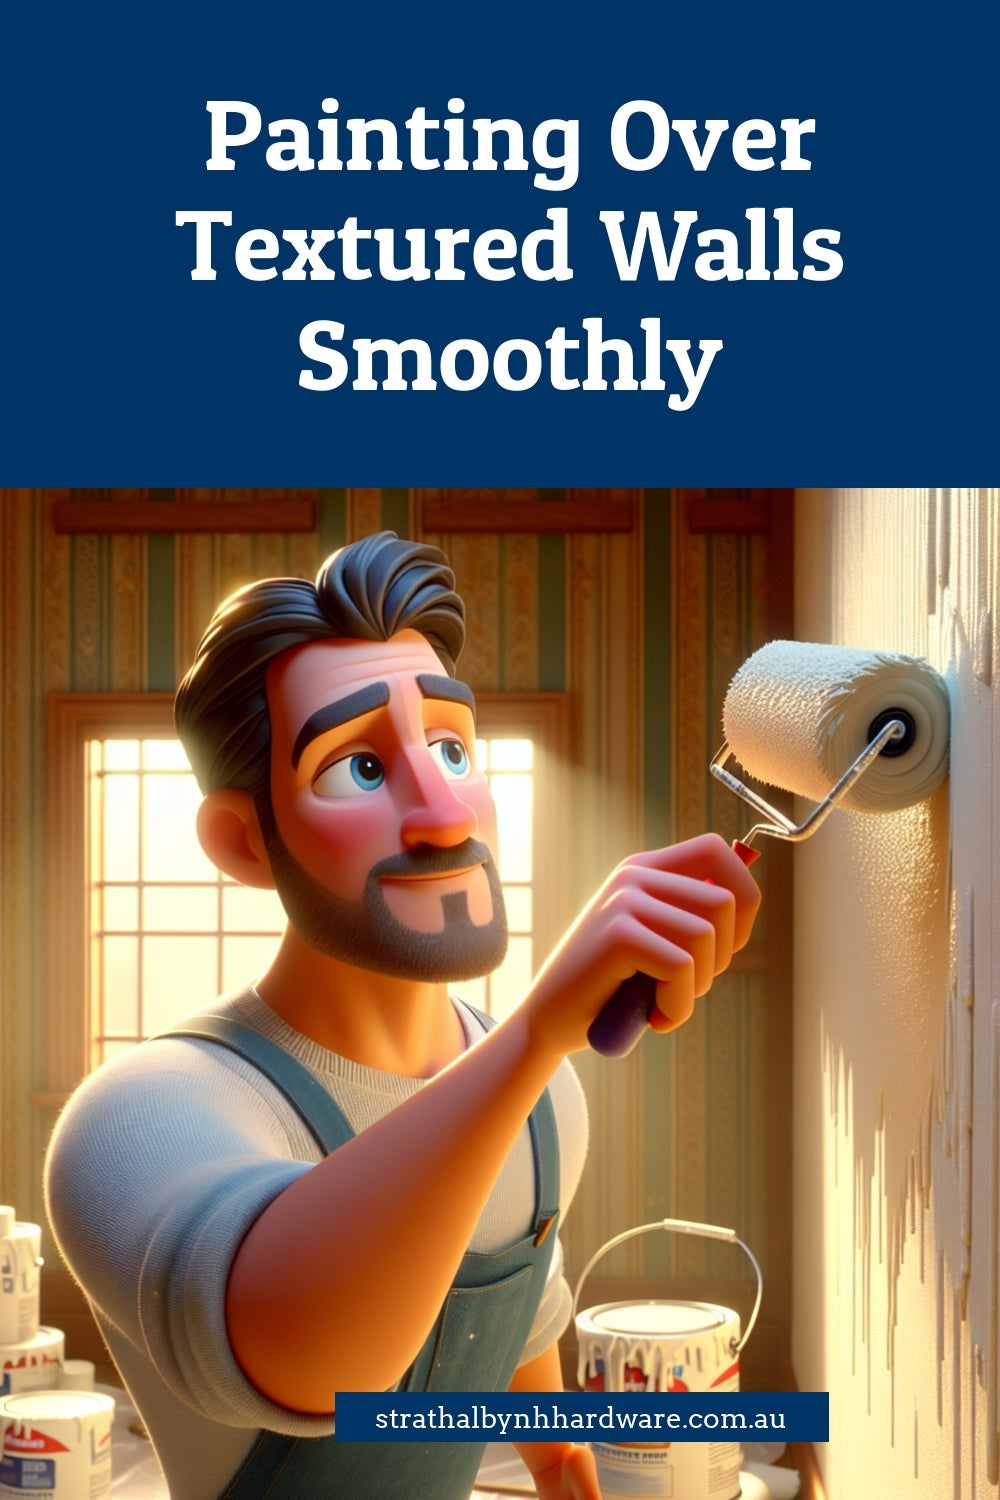
Painting Over Textured Walls Smoothly
Share
Smooth Walls on Textured Surfaces: Your New Favourite Painting Hack
Ever stared at your bumpy, outdated wall finish and thought, “Ahh, if only this texture would quit yelling at me every time I walk by!”? You, my friend, are not alone! Whether you're tackling orange peel in the hallway, swirls in the lounge room or thick stucco in the bedroom (I see you, DIYs of the past), painting over textured walls to get that smooth, buttery finish is possible.
It’s not always a walk in the park, but the final look is worth every bit of elbow grease. Let’s break it down, share a few tricks of the trade and get you feeling confident about livening up that tired wall!
Is Painting Over Textured Walls the Right Call?
In a word? Yes. Especially if your home’s aesthetic leans more crisp-and-clean than cottage-chic. Smooth walls are timeless. They bounce light beautifully, make rooms feel bigger and showcase colours at their purest. The good news is you don’t need to gut your walls or fork out for a total redo. With the right approach—and a little patience—you can paint right over your textured surfaces and finish with a look that feels brand new.
Let’s Talk About Texture: Know Your Enemy (Sort Of)
Before you head to the paint shop, spend a moment with your walls. Lightly run your fingers across them. Can you feel stubbles or hard ridges? Is it coarse and crumbly or more subtle and uneven?
Once you’ve “read the texture,” decide if you're flattening it completely or just softening it up. Heavy texture will need more prep, but even lighter textures deserve attention before that first splash of your dream colour goes on.
Prep: The Part Everyone Tries to Skip (But Really Shouldn’t)
This stage is where the magic starts. The smooth finish you’re after? It’s all in the prep—and yes, this means dust, filler and a bit of sanding.
- Start by cleaning walls with a damp microfiber cloth or light dish soap solution to remove dust and oil.
- Fill in deep divots or gouges using a lightweight spackle or all-purpose filler.
- Let it dry completely, then sand the surface using a medium- to fine-grit sandpaper block or electric sander (trust me, your arm will thank you later).
For people really committed to getting ultra-smooth results, a thin skim coat of joint compound across the entire surface is an insider’s trick. You’ll need a wide drywall knife and a bit of zen—apply it evenly, feather the edges, and sand it back smooth after it dries.
Prime Time: Never Skip This Step
Here's where Haymes Primer Sealer Undercoat struts in. It works like a charm for binding any residual dust, sealing porous surfaces, and giving your colour coats something solid to grip onto. Think of this like bandaging your wall and getting it fit for duty!
Apply with a roller for a more even spread, and go easy on the pressure to make sure you aren't redistributing any old ridges. One coat is usually plenty unless you're going from dark-to-light or have patched many spots.
Choose Your Paint Like You Choose Friends: Reliable and Long-Lasting
This is where colour dreaming gets real—but don’t skimp on quality. We're talking top-shelf here. Haymes Interior Expression Low Sheen gives you that smart, soft look we all love without highlighting every scratch. It’s designed for top durability, so excellent for kid zones, family rooms, and anywhere a sponge might come in handy later.
Better still, it’s self-levelling. That means it naturally flattens out brush or roller marks. It won't make you a pro overnight, but it definitely makes your walls look like you’ve done this before. If you're doing ceilings too, look for their Ceiling White version—it's all about even coverage and a clean matte finish.
Tips For Getting That Even, Smooth Look
- Choose the right tools: Use a thick-nap roller (15mm–20mm) for initial coats on rough textures, then finish with a finer-nap roller or foam roller on your last coat.
- Use soft, steady strokes: Avoid pressing the roller hard; it just forces paint into the texture inconsistently.
- Sand between coats: Use a pole sander with 180+-grit paper if you want next-level smoothness at each stage.
Keep your workspace dust-free—attack any little lint bits before each coat. Lay down sheets, mask edges, and give yourself a playlist that makes this whole job feel cathartic instead of stressful. You’re doing something tangible and cool. Run with it.
Real Talk: Why This Project Matters
Everyone wants their home to reflect comfort, calm and a bit of who they are. And sometimes new paint—done well—refreshes the mind just as much as the room. Smoothing out walls might seem like a small thing, but it’s these details that really shape our space. Whether you’re aiming for crisp classics or moody tones that cocoon you in, knowing how to prep and paint over texture puts you completely in control of the room’s vibe.
When people walk in and gasp, “Did you hire a professional?”—you can just smile and say, “Nope, just me and the right products.” And if you pop down to Strathalbyn H Hardware, we’ll chat colour palettes, finishes and any hiccups you're worried about. You’re not doing it alone. We’ve been pairing people with Haymes Paint and painting know-how for over three decades.
Painting is more than paint—it’s the joy of sprucing up a space and thinking, “I did that.” You’ve got full permission to be proud of that wall—possibly even show it off with a cheeky group text. We won't judge!
Happy painting and take care,
— Candeece

Stay Connected
Follow our Facebook Page: Strathalbyn H Hardware on Facebook


