How to Paint a Room Like a Professional in 6 Steps
Share
Professional Painting Made Easy: 6 Steps to a Flawless Finish
Picking up a paintbrush and transforming a space with colour is one of life’s little joys. But let’s be honest, there’s a fine line between a masterpiece and a patchy disaster. The good news? You don’t need to be a professional painter to get professional results. With the right know-how and a splash of confidence, you’ll have your space looking incredible in no time.
1. Choose the Right Paint
Before diving into the fun part, make sure you’ve picked a paint that suits your needs. Not all paints are created equal, and choosing the wrong one can lead to disappointment. Want a durable, easy-to-clean option for the family room? A low-sheen or washable matte should do the trick. Freshening up a kitchen or bathroom? Moisture-resistant paint is a must.
And let's talk colour. Lighting, existing décor, and personal taste all come into play. If you're unsure, test a few swatches on the wall and check how they look at different times of the day. Colours can be tricky chameleons!
2. Gather Your Supplies
A successful painting project starts with proper tools. Here’s what you’ll need:
- A high-quality roller and frame (cheap rollers shed fluff—trust me, it’s not worth it)
- Paintbrushes with bristles suited to the job
- Painter’s tape to keep edges sharp
- A paint tray and liner for easy clean-up
- A drop cloth to protect your floors
- Filler and sandpaper to smooth out imperfections
Your future self will thank you for investing in quality tools. Good brushes and rollers ensure smoother application and save time in the long run.
3. Prep Like a Pro
Skipping prep work is the biggest mistake you can make. A properly prepped surface means the difference between a stunning finish and a patchy mess.
- Patch holes and cracks with filler, then sand for a smooth surface
- Wash walls to remove dust and grease
- Use painter’s tape to protect trims and edges
- Prime if needed, especially if covering a dark colour or stain
Think of this step like icing a cake—get the surface smooth before adding that final layer of colour.
4. Apply Like a Pro
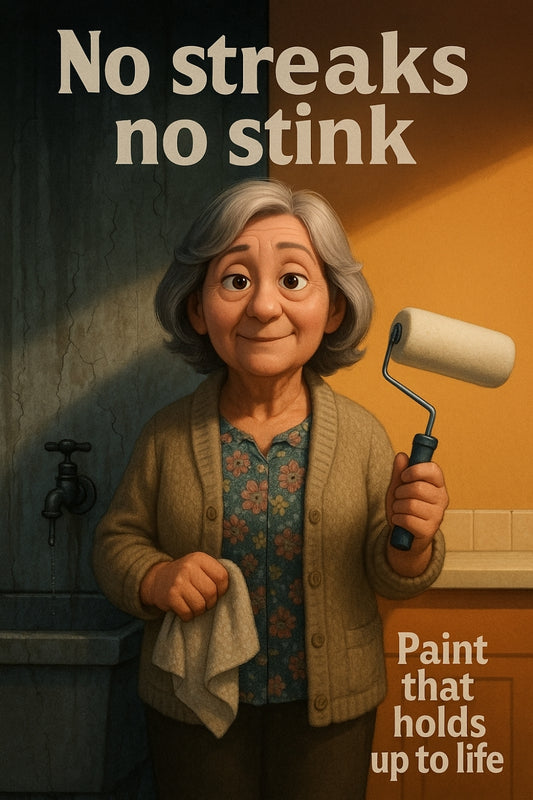
Now for the fun part! Load up your roller and apply paint in a ‘W’ or ‘M’ motion to avoid streaks. Work in sections to keep a wet edge and prevent visible lines. For tricky corners and edges, a good-quality brush will do wonders.
One coat is rarely enough, so be patient. Two thin coats will always look better than one thick coat. And never rush the drying time between coats—good things come to those who wait.
5. Clean Up Smart
Once you’ve finished painting, resist the urge to slump on the couch just yet. While the paint is still drying, peel off the painter’s tape to prevent any tearing. Wash your brushes and rollers immediately—dried paint on tools is no fun to deal with later.
Leftover paint? Seal the tin properly so it doesn’t dry out. A quick tip: store it upside down for a tight seal.
6. Enjoy Your Work
Step back and admire your handiwork. You’ve turned a tired space into something fresh and inviting—all by yourself. There’s nothing quite like the satisfaction of seeing a room you painted come to life.
If you need a hand picking the perfect shade or grabbing quality painting gear, pop into Strathalbyn H Hardware’s Paint Shop. We’ve got the full range of Haymes Paint and all the advice you need to get the job done right. Happy painting!

Stay Connected
Follow our Facebook Page: Strathalbyn H Hardware on Facebook


