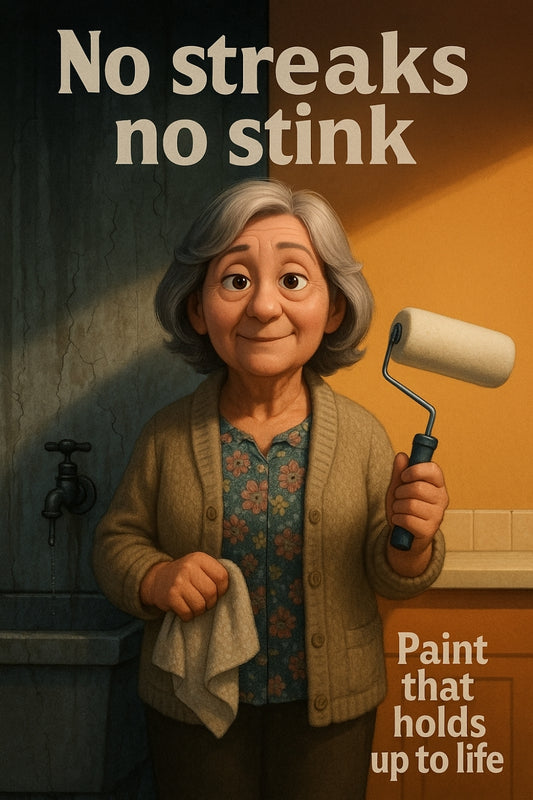
How to Create a Two-Tone Wall Design Using Paint Accessories
Share
Easy Two-Tone Wall Painting Ideas for a Stunning Home Makeover
Ever stared at your walls and thought, "Well, you’re a bit boring, aren’t you?" A two-tone wall design might be just the thing to kick things up a notch! With the right paint accessories and a little DIY magic, you can add personality and depth to any room without needing an interior designer on speed dial. Let’s roll up our sleeves and get cracking!
Why Choose a Two-Tone Wall?
Two-tone walls are a DIY lover’s dream. They give you a chance to play with colour contrast, define spaces, and create a stylish backdrop for your home. Whether you prefer a bold statement or a subtle blend, this technique can bring a fresh look without overwhelming the room. Plus, if you're feeling a little indecisive (we’ve all been there), why settle for one colour when you can have two?
What You’ll Need
Before diving in, stock up on the right supplies. Here’s what you’ll need:
- Haymes Paint – top-quality, long-lasting colour for a flawless finish
- Painter’s tape – your secret weapon for sharp, clean lines
- Paint rollers and brushes – for smooth application
- A spirit level or laser level – to keep your dividing line straight
- Drop cloths or old sheets – to protect your floors
- A pencil and measuring tape – precision is key for the best results
Step-by-Step Guide to Painting Two-Tone Walls
1. Pick Your Colours
Light and dark combos work a treat. A soft neutral with a deep accent shade creates balance. Prefer something bolder? Go for complementary colours or dramatic contrasts. If you're feeling a bit lost, swing by Strathalbyn H Hardware’s Paint Shop – we’ll help you find the perfect match.
2. Decide on the Divide
Where do you want your colours to meet? A 50/50 split gives a balanced look, while a 70/30 ratio creates visual interest. If you’re after a modern touch, consider a diagonal or wavy line rather than a straight edge.
3. Mark and Tape
Use your measuring tape and spirit level to draw a crisp, even line. Then, apply painter’s tape along the line to keep everything neat.
4. Paint the Lighter Colour First
Start with the lighter shade as your base. Let it dry completely before moving on to the next step. Patience is key—trust me, you don’t want smudges ruining that perfect contrast.
5. Tape Again for Precision
Once the lighter paint is dry, place fresh painter’s tape slightly above the dividing line. This small trick prevents bleed-through and gives you a super sharp edge.
6. Apply the Second Colour
Roll on your darker or accent colour with smooth, even strokes. Once you’ve covered the section, remove the tape while the paint is still slightly wet—this helps maintain a crisp edge.
7. Finish and Touch Up
Check for any small uneven edges and touch them up with a fine brush. Stand back and admire your handiwork—you’ve just nailed a professional-looking finish!
Top Tips for a Flawless Finish
- Test your colours first – paint sample swatches to see how they look in different lighting.
- Use high-quality painter’s tape – cheaper options tend to bleed, leaving you with wobbly lines.
- Avoid thick layers – multiple thin coats give better coverage and dry more evenly.
A Fresh Look Without the Hassle
A two-tone wall design is a low-maintenance way to update any space without a full-blown reno. Whether you’re adding charm to a cosy lounge or sprucing up a bedroom, this technique is simple, stylish, and budget-friendly.
If you're ready to give it a go, pop into Strathalbyn H Hardware’s Paint Shop. We’ve got the best Haymes Paint shades, expert advice, and all the accessories to get you started. Happy painting! 🎨

Stay Connected
Follow our Facebook Page: Strathalbyn H Hardware on Facebook


