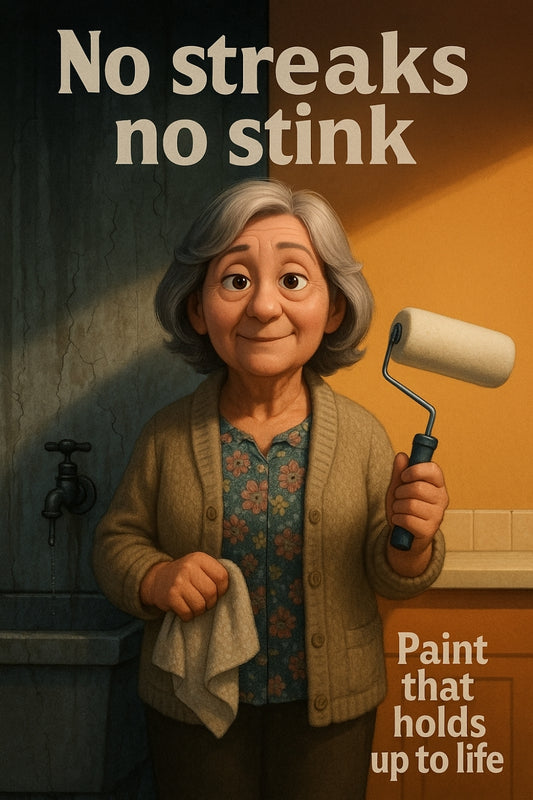
How to Correct Patchy Wall Coverage
Share
Say Goodbye to Streaky Walls: The Real Fix for Patchy Paint Coverage
We've all been there – you stand back after hours of painting, expecting crisp, even colour, and instead, your walls look like they're wearing camouflage. Ugh, patchy paint coverage. It's the ultimate DIY heartbreak, isn’t it?
As someone who's spent more time with a roller than a wine glass some weekends, I know how frustrating it is to have patchy walls derail your home improvement goals. Whether you're giving the guest room a fresh coat or revamping your entire living space, nothing takes the wind out of your sails faster than blotchy walls staring back at you.
What Causes Patchy Paint in the First Place?
Let's get real. The paint is only part of the problem. Often, it has more to do with how you prep (or don’t prep) your walls and the tools you use. Some common culprits behind inconsistent coverage include:
- Uneven priming or skipping it altogether
- Poor lighting while painting (hello, streaks you didn’t see until it dried)
- Using low-quality rollers or the wrong paint for the surface
- Painting over dark or heavily stained walls with too few coats
- Not giving enough drying time between coats
Sound familiar? Don’t worry – patchiness doesn’t mean you’ve failed. It just means we need to reset and approach things with a plan. And I’m here to talk you through that, like your painting BFF.
Your Wall Recovery Game Plan
If you're staring at uneven walls right now and wondering if it's even fixable – absolutely it is. Here's the lowdown on how to correct uneven paint coverage and give your walls the love they deserve:
Step 1: Take an Honest Assessment
Turn on all the lights (natural and artificial). Look at the walls from different angles. Mark the patchy spots lightly with a pencil, so you don’t lose sight of them once you start again. Identify whether you're dealing with thin areas, colour variation, or streaks. Each has its own fix.
Step 2: Sand and Smooth
Grab some fine-grit sandpaper and smooth out any visible roller edges or blotchy brush marks. A light-handed buff across the worst patches will reduce that texture contrast. Wipe off the dust with a damp cloth and let the surface dry properly before you move on.
Step 3: Primer is Your New Best Friend
When in doubt, prime it out. Especially over dark or patchy underlayers, a good primer can help even everything up and give your topcoat something to grab onto. Consider a stain-blocking primer if there’s bleed-through from old marks or scents. You really don’t want those surprises haunting you later.
Step 4: Choose the Right Paint – Quality Over Haste
Using high-quality paint from the start makes a world of difference. Low-quality paint has lower solids, which means you'll often need more coats to get decent coverage. Let me pop in a local hero here: Haymes Ultra Premium Expression. It's got exceptional hide and coverage, even over tricky base colours. That’s something to smile about.
And let me speak from personal experience – when you apply Haymes Expression correctly, it rewards you with a uniform finish that looks like it’s been done by a pro (even if your toddler’s snack break interrupted you mid-coat!). Want to see it for yourself?
Step 5: Apply Even Coats with the Right Tool
No skipping the waiting time — let the primer or first coat dry fully. Then dive in with a good-quality roller (for walls) or angled brush (for trims and tricky corners). Use a W or M motion so you don't leave strong directional streaks, keep a wet edge, and don’t spread paint too thin thinking you're saving time.
End each section with one final light pass in the same direction. And yes, you’ll probably need two finish coats. But believe me, it will be worth it.
Step 6: Lighting Check and Patch Touch-Ups
Once it's dried fully (sometimes that’s overnight), hit it again with your lighting test. If there are a few spots still crying for help, wait… sand lightly… and touch them up with a small roller. Blend out the edges gently. Less really is more here.
If It’s Still Not Right, Come Have a Chat
Every situation is a little different. Your plaster may be thirsty. Your sublayer might have stubborn stains. If you're feeling stuck, bring in a sample, or let us have a look. We offer advice that’s practical and honest. We’ve seen it all — striped dining rooms, sneeze-textured hallways, and one very bright mustard bathroom. No judgement, I promise.
Bonus Tip: Check Paint Labels for Recoating Times
This sound small, but waiting the right amount of time before adding another layer makes a world of difference. Restless painters tend to create more patches just from rushing. Make yourself a cuppa. Go for walk. Let it dry before you add more love.
Final Thoughts – You’ve Got This
Patching up patchiness comes down to good prep, a bit of patience, and trusting the process. We've had customers walk into the Paint Shop near tears over a failed weekend paint project, and walk out with the right plan, tools, and confidence to fix it.
If you're still unsure, swing by Strathalbyn H Hardware. We've got rollers that won’t shed, detailed colour advice, and lots of real-life experience to help. Whether it’s your ceiling or your vision board wall begging for a do-over, we’re right there with you, one coat at a time.
Wall dramas are temporary, but the joy of a well-painted room… that’s something you can enjoy daily. Let’s help you get there. 🎨
See you soon in-store – and don’t forget to paint with love (and good lighting!).
Cheers,
Candeece

Stay Connected
Follow our Facebook Page: Strathalbyn H Hardware on Facebook


